Build journal
2019 Ford Transit DIY Camper
Projects


Van Build Costs
| Category | Item | Cost |
|---|---|---|
| Structural | T-slotted aluminum framing, carrage bolts, angle brackets | $ 5,500.00 |
| Electrical | Lithium Ion Batteries x 4 | $ 4,000.00 |
| Decor | Wood Paneling | $ 3,000.00 |
| Decor | Wooden Slats and Integrated Lights | $ 2,000.00 |
| HVAC | Webasto Propane Heater and Control | $ 1,300.00 |
| Electrical | Victron Multiplus 3000 Inverter | $ 1,300.00 |
| Sewage | Nature's Head Composting Toilet | $ 1,300.00 |
| HVAC | Dometic Fridge 95 | $ 1,300.00 |
| Decor | Swivel Seats | $ 1,000.00 |
| Electrical | Solar Panels | $ 1,000.00 |
| Propane | Dometic Propane Range/Oven | $ 1,000.00 |
| Storage | Upper Cabinets (Titan DIY) | $ 800.00 |
| Electrical | Victron MPT Solar Controller | $ 700.00 |
| IT | Starlink Sattelite and Modem | $ 600.00 |
| IT | Netgear 5G Modem and Antenna | $ 600.00 |
| Plumbing | Water Tank - 27 gallon | $ 500.00 |
| Plumbing | Plumbing hardware (pump, accumulator, pipes, valves) | $ 500.00 |
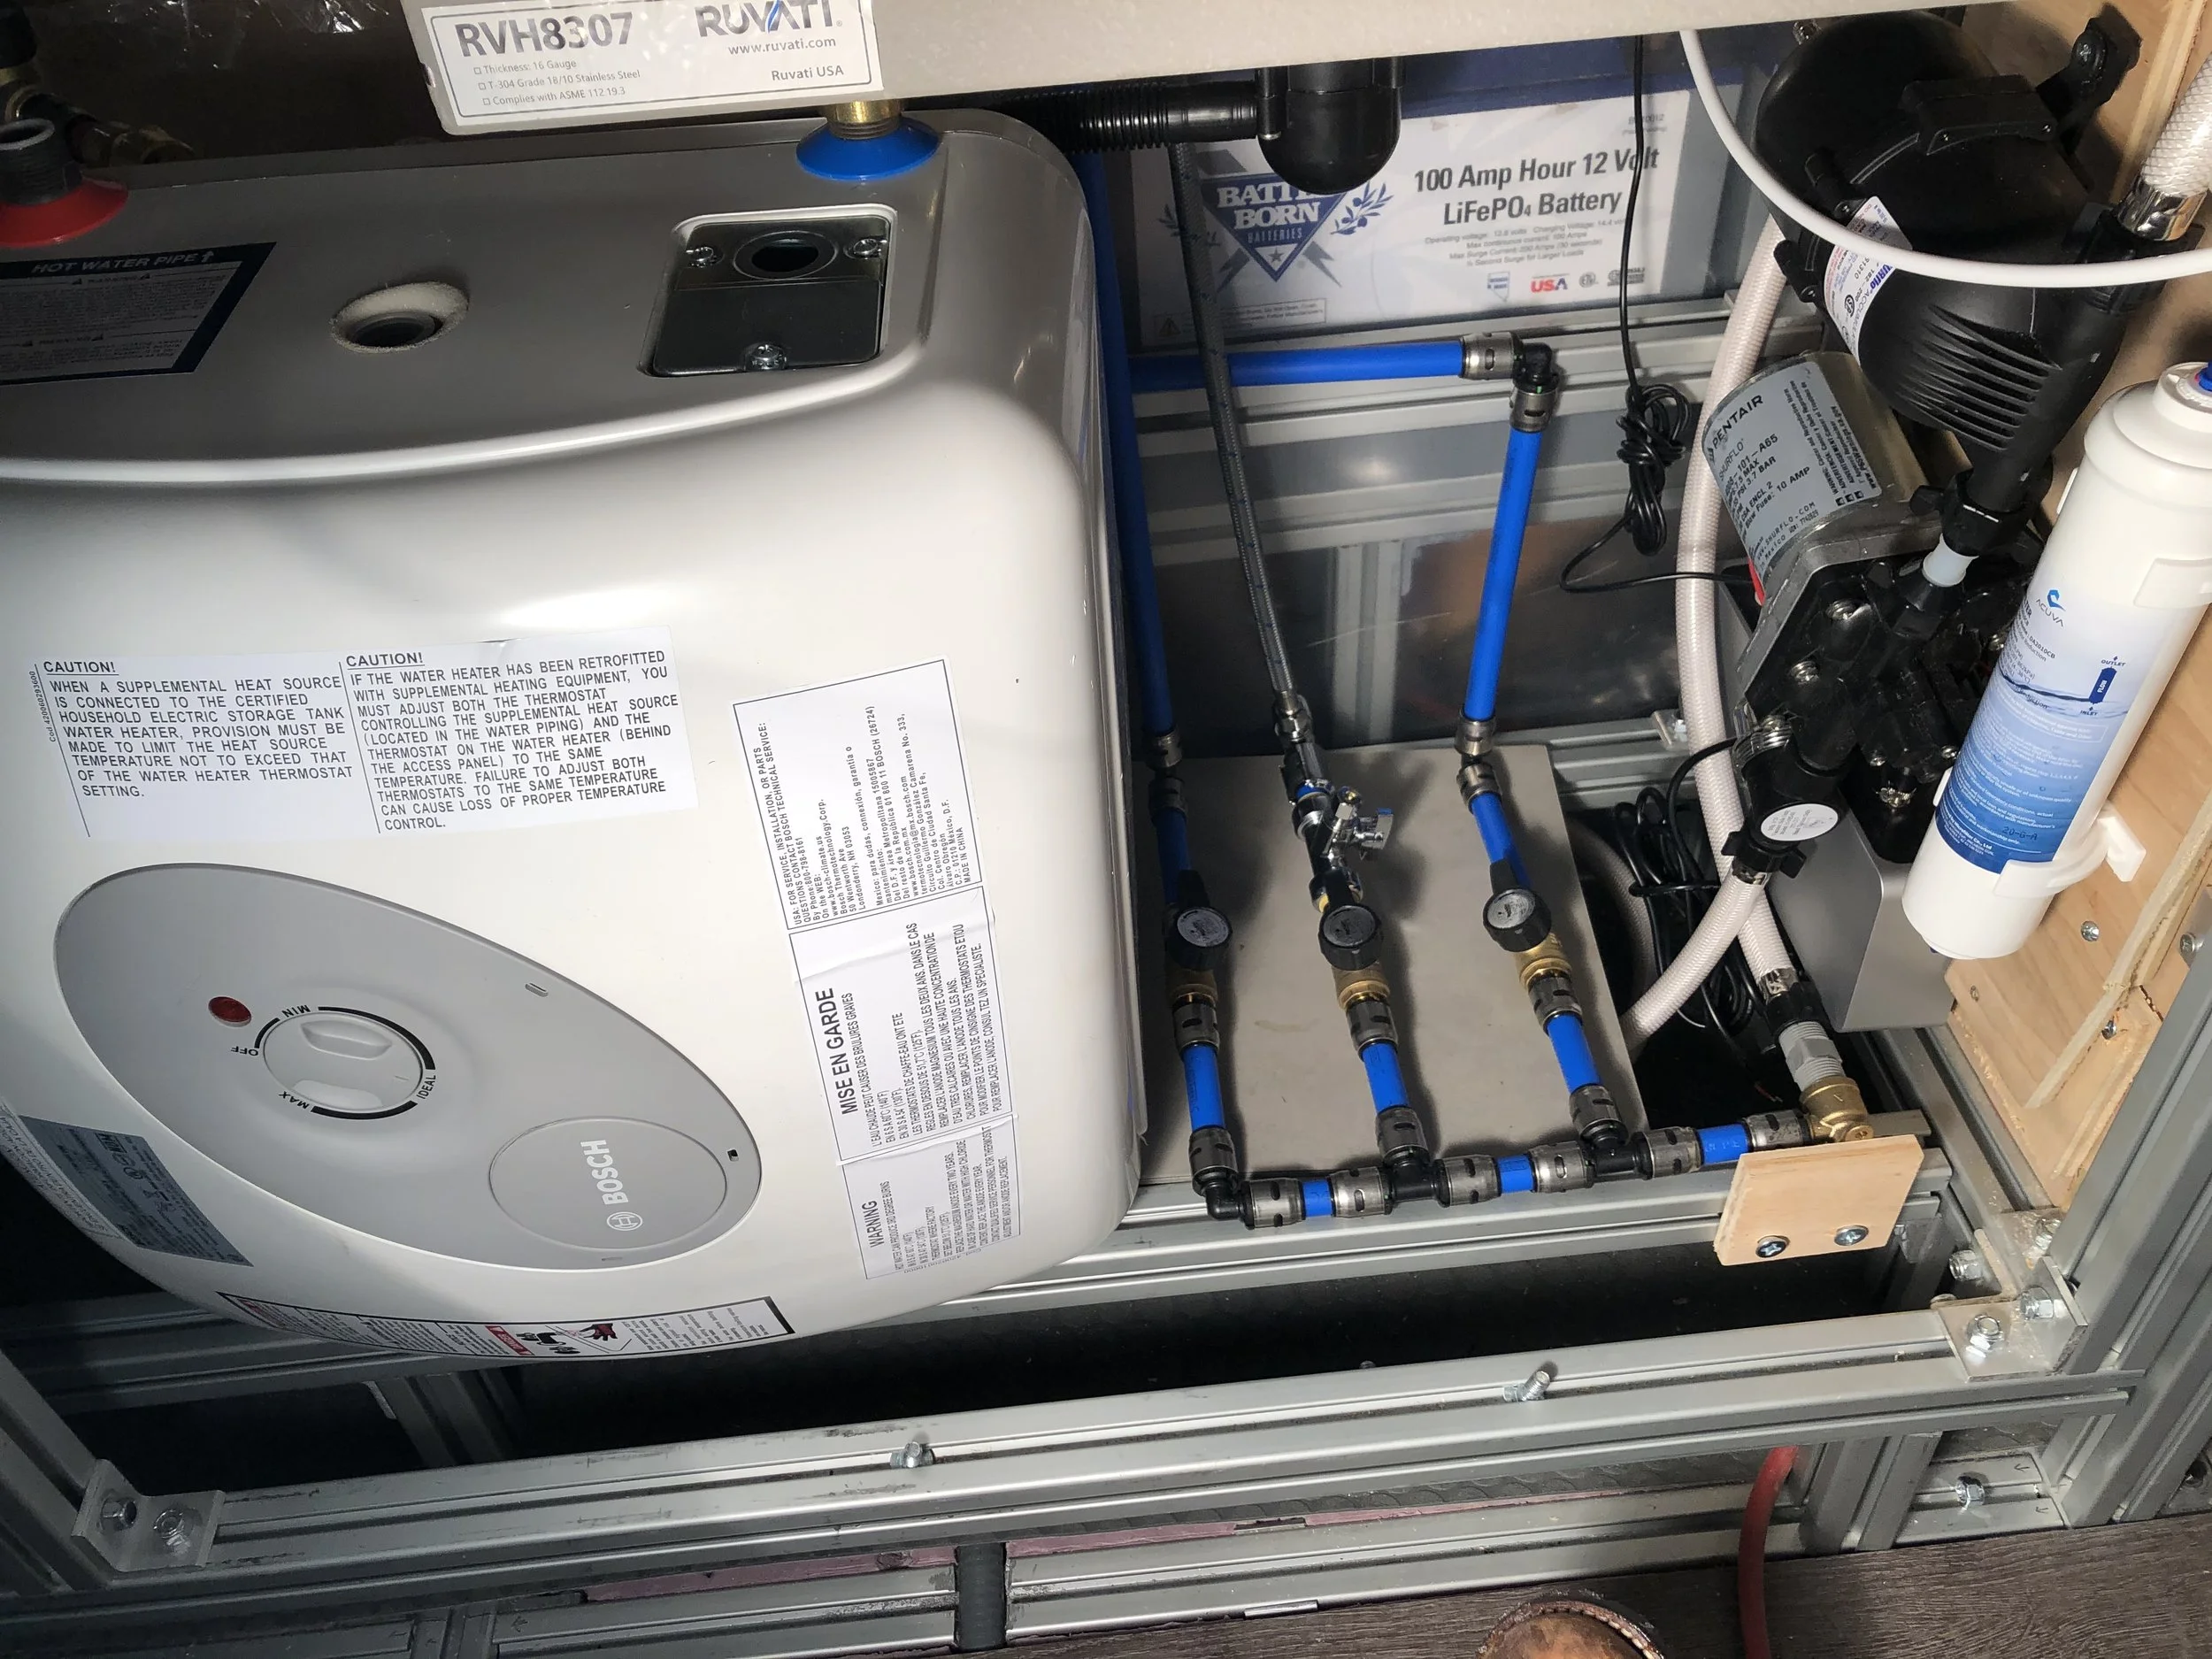
| Plumbing | Water Heater - Bosch 8 gallon + Bosh 1 Gallon | $ 400.00 |
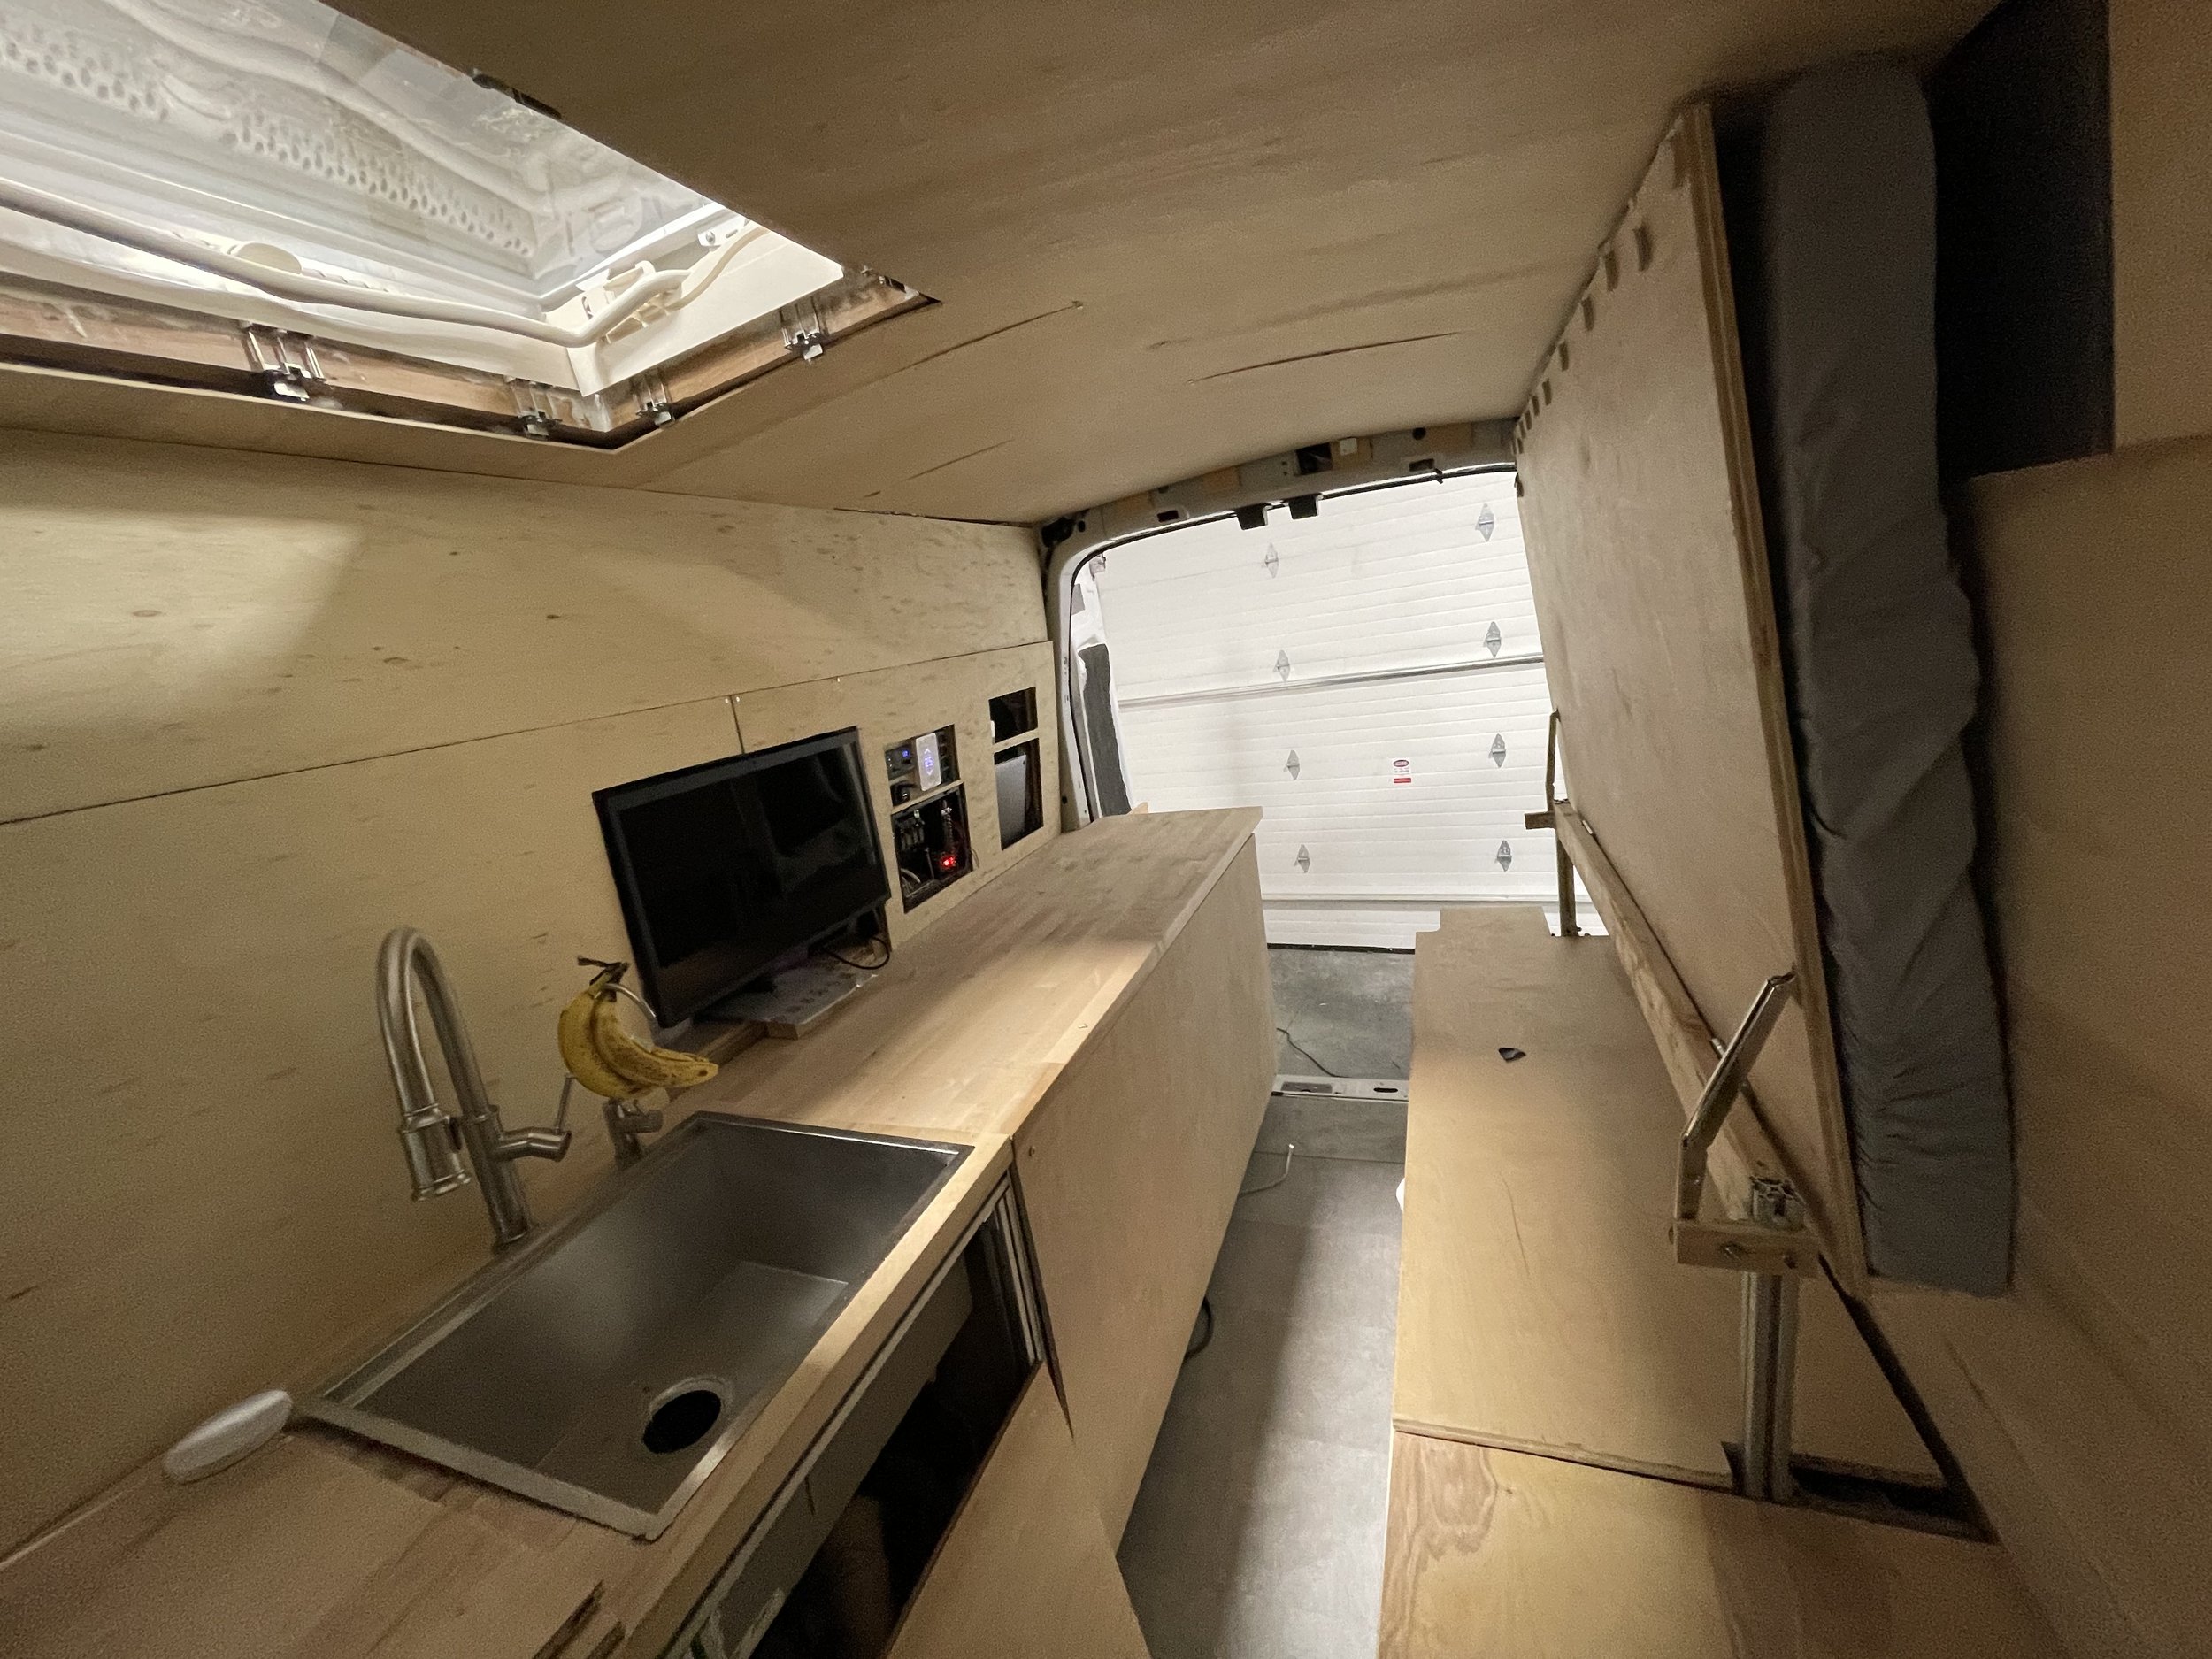
| Plumbing | Ruvati Stainless Steel Sink | $ 400.00 |
| IT | Weboost Signal Booster | $ 300.00 |
| Decor | Fabric Upholstry | $ 300.00 |
| Decor | Tile Peel and Stick Backsplash | $ 200.00 |
| Electrical | Heated Floor | $ 200.00 |
| Decor | Floor Vinyl | $ 200.00 |
| Propane | Propane Hardware | $ 100.00 |
| Propane | Horizontal Propane Tank | $ 100.00 |
| HVAC | CRLawrence T vent windows | $ 1,400.00 |
| HVAC | Maxxair Fan | $ 500.00 |
| Total | $ 30,500.00 |


Floor #2
The floor is the base of the build and provides the features for the rest of the build, something I didn’t fully appreciate .
With Floor #1, the first big project I aimed to ‘check off’, insulation and flatness were achieved, but the floor did little in the way of providing structural support for the interior. This meant the walls would have to play a larger role in anchoring cabinetry, and those walls are both curved and hollow at counter height.
Floor #2 was built once the 80/20 aluminum framing was complete and I had a fuller understanding of the van build. The design & procedure was taken from the great site Orton Transit - Floor.
The result is a warm, flat floor with the ability to strongly anchor or quickly remove interior cabinet modules as needed.
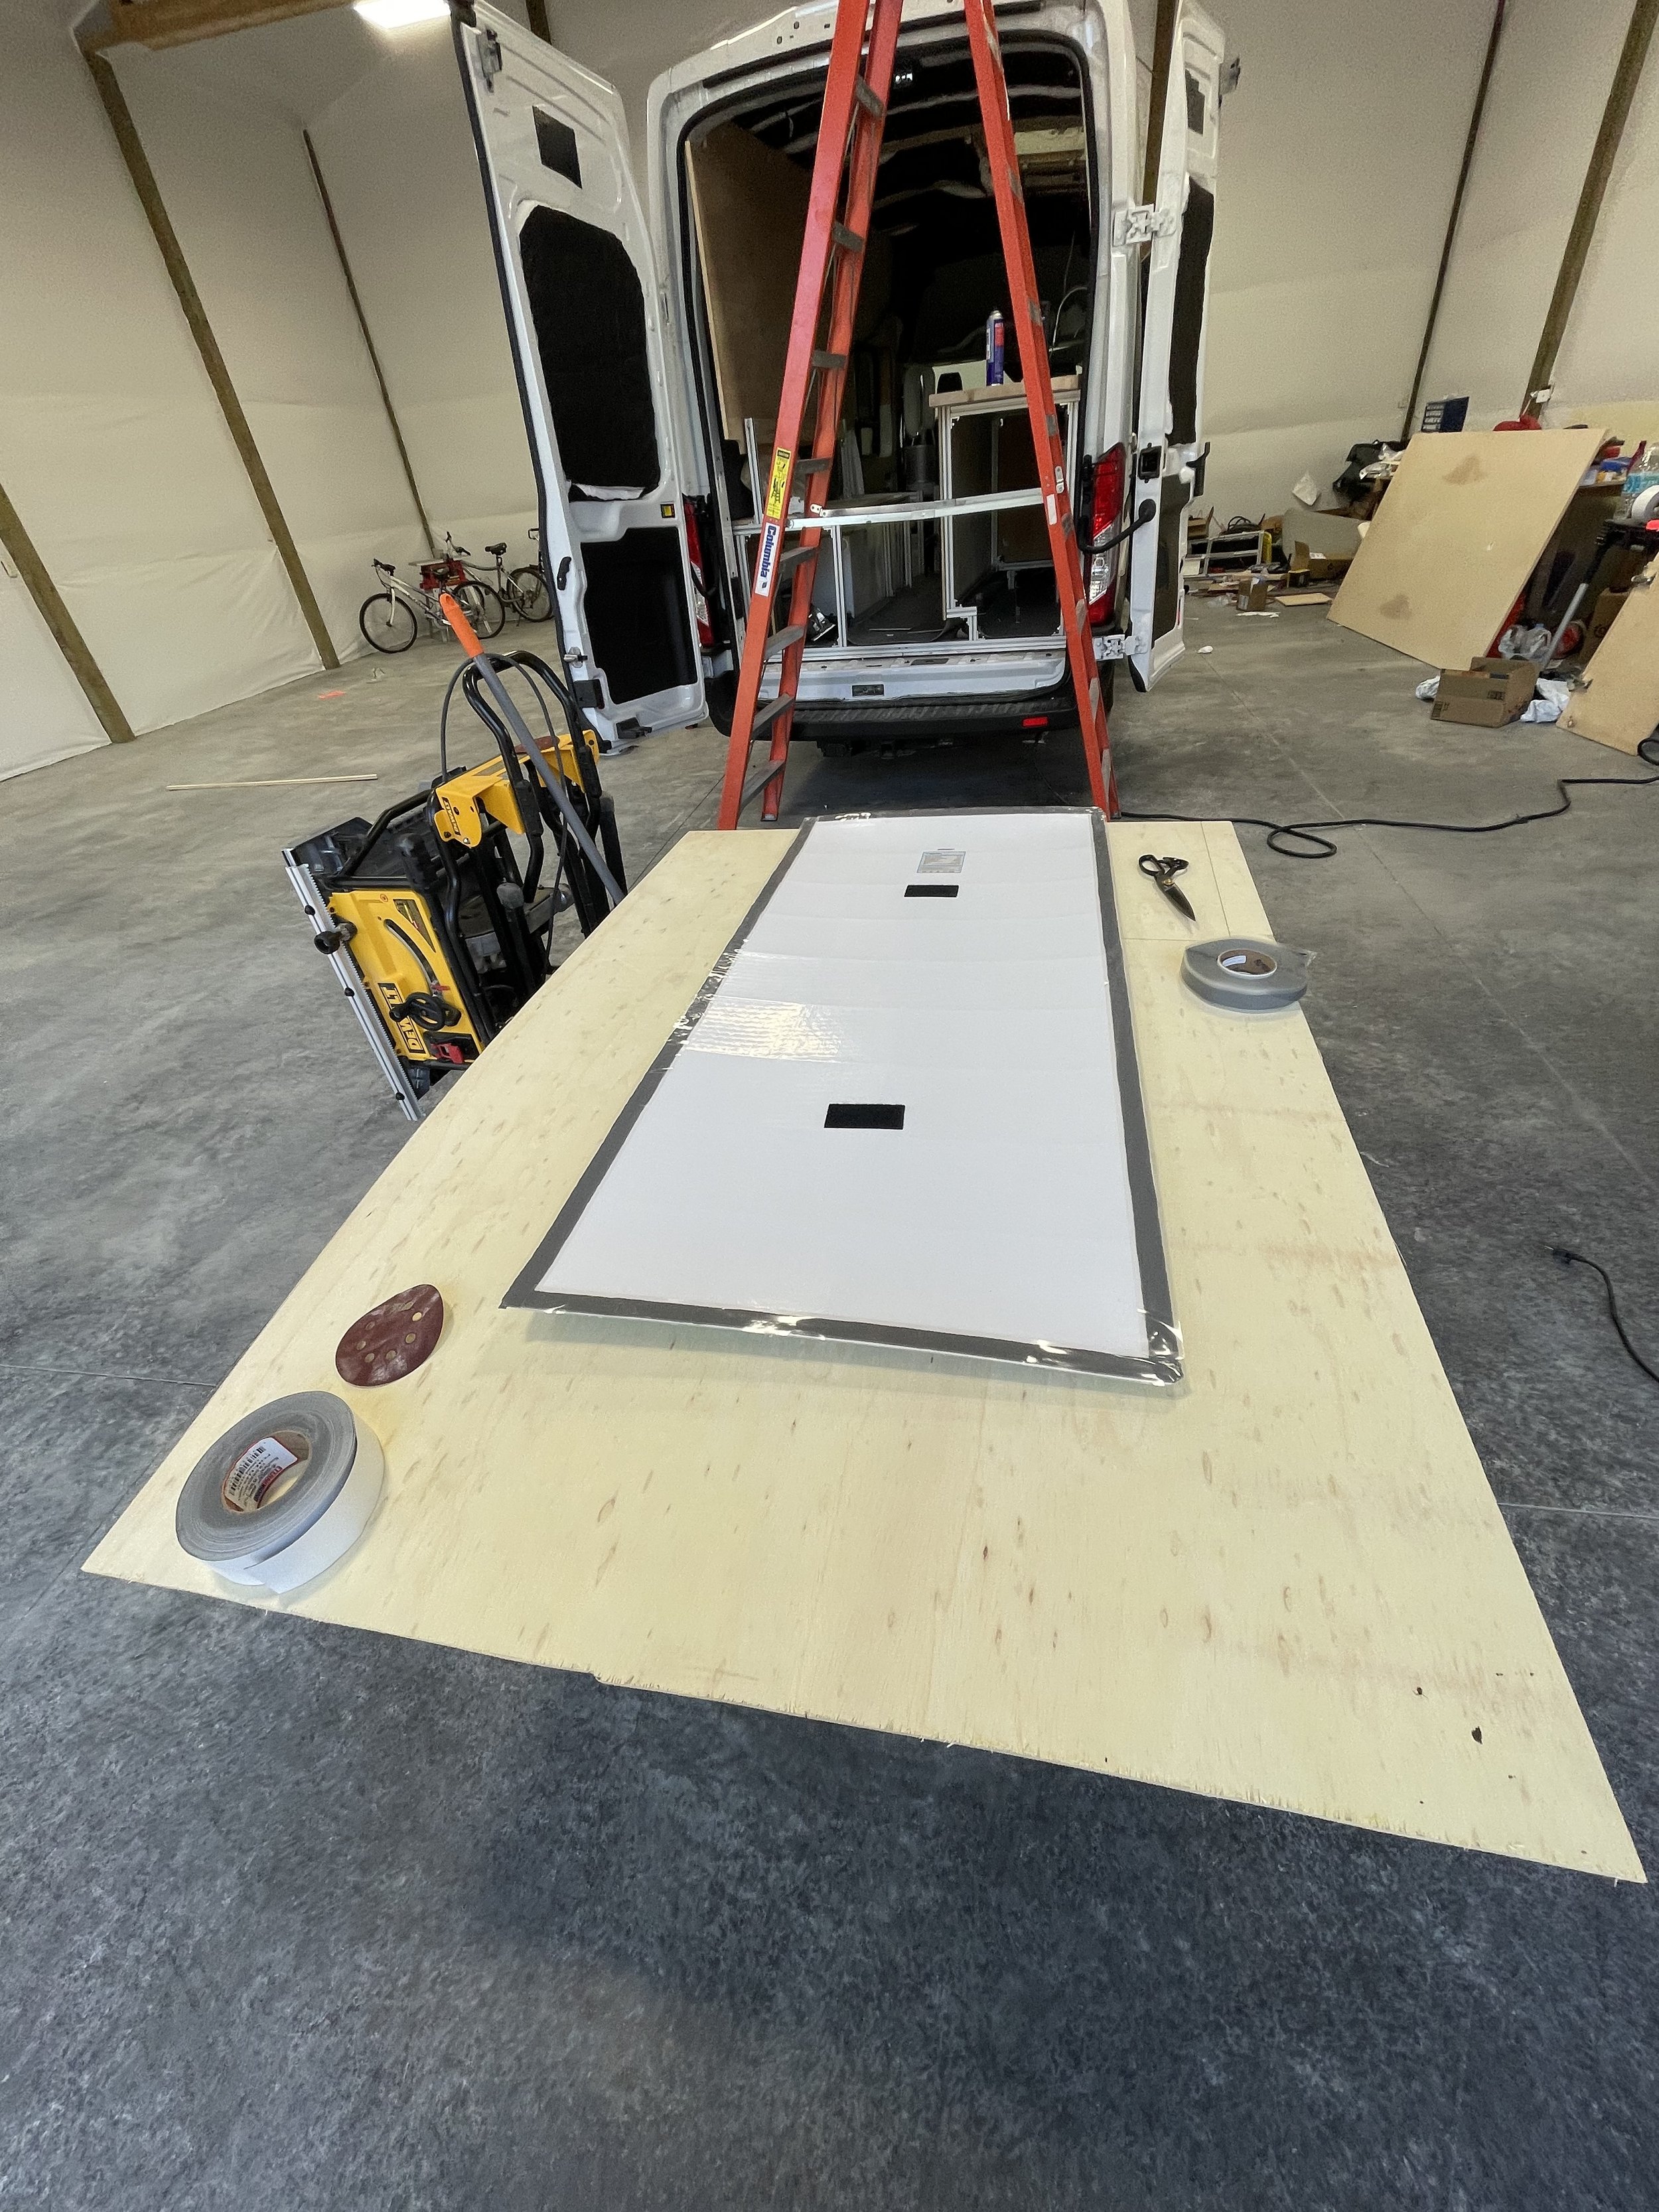
Floor or 7-Layer Burrito?
A floor is just a floor right? Boring! Who knew this would be one of most sophisticated systems in the van. Here are the layers of the floor sandwhich from the bottom (van metal) up:
The microfoam corrugation fillers from Floor #1 were kept in place (they fill the gaps in the metal floor).
A layer of Mass Loaded Vinyl (MLV) was laid in 3 strips such that the seams would be offset from the plywood floor. This MLV layer a dampening effect on road noise and provides a stable base for the plywood.
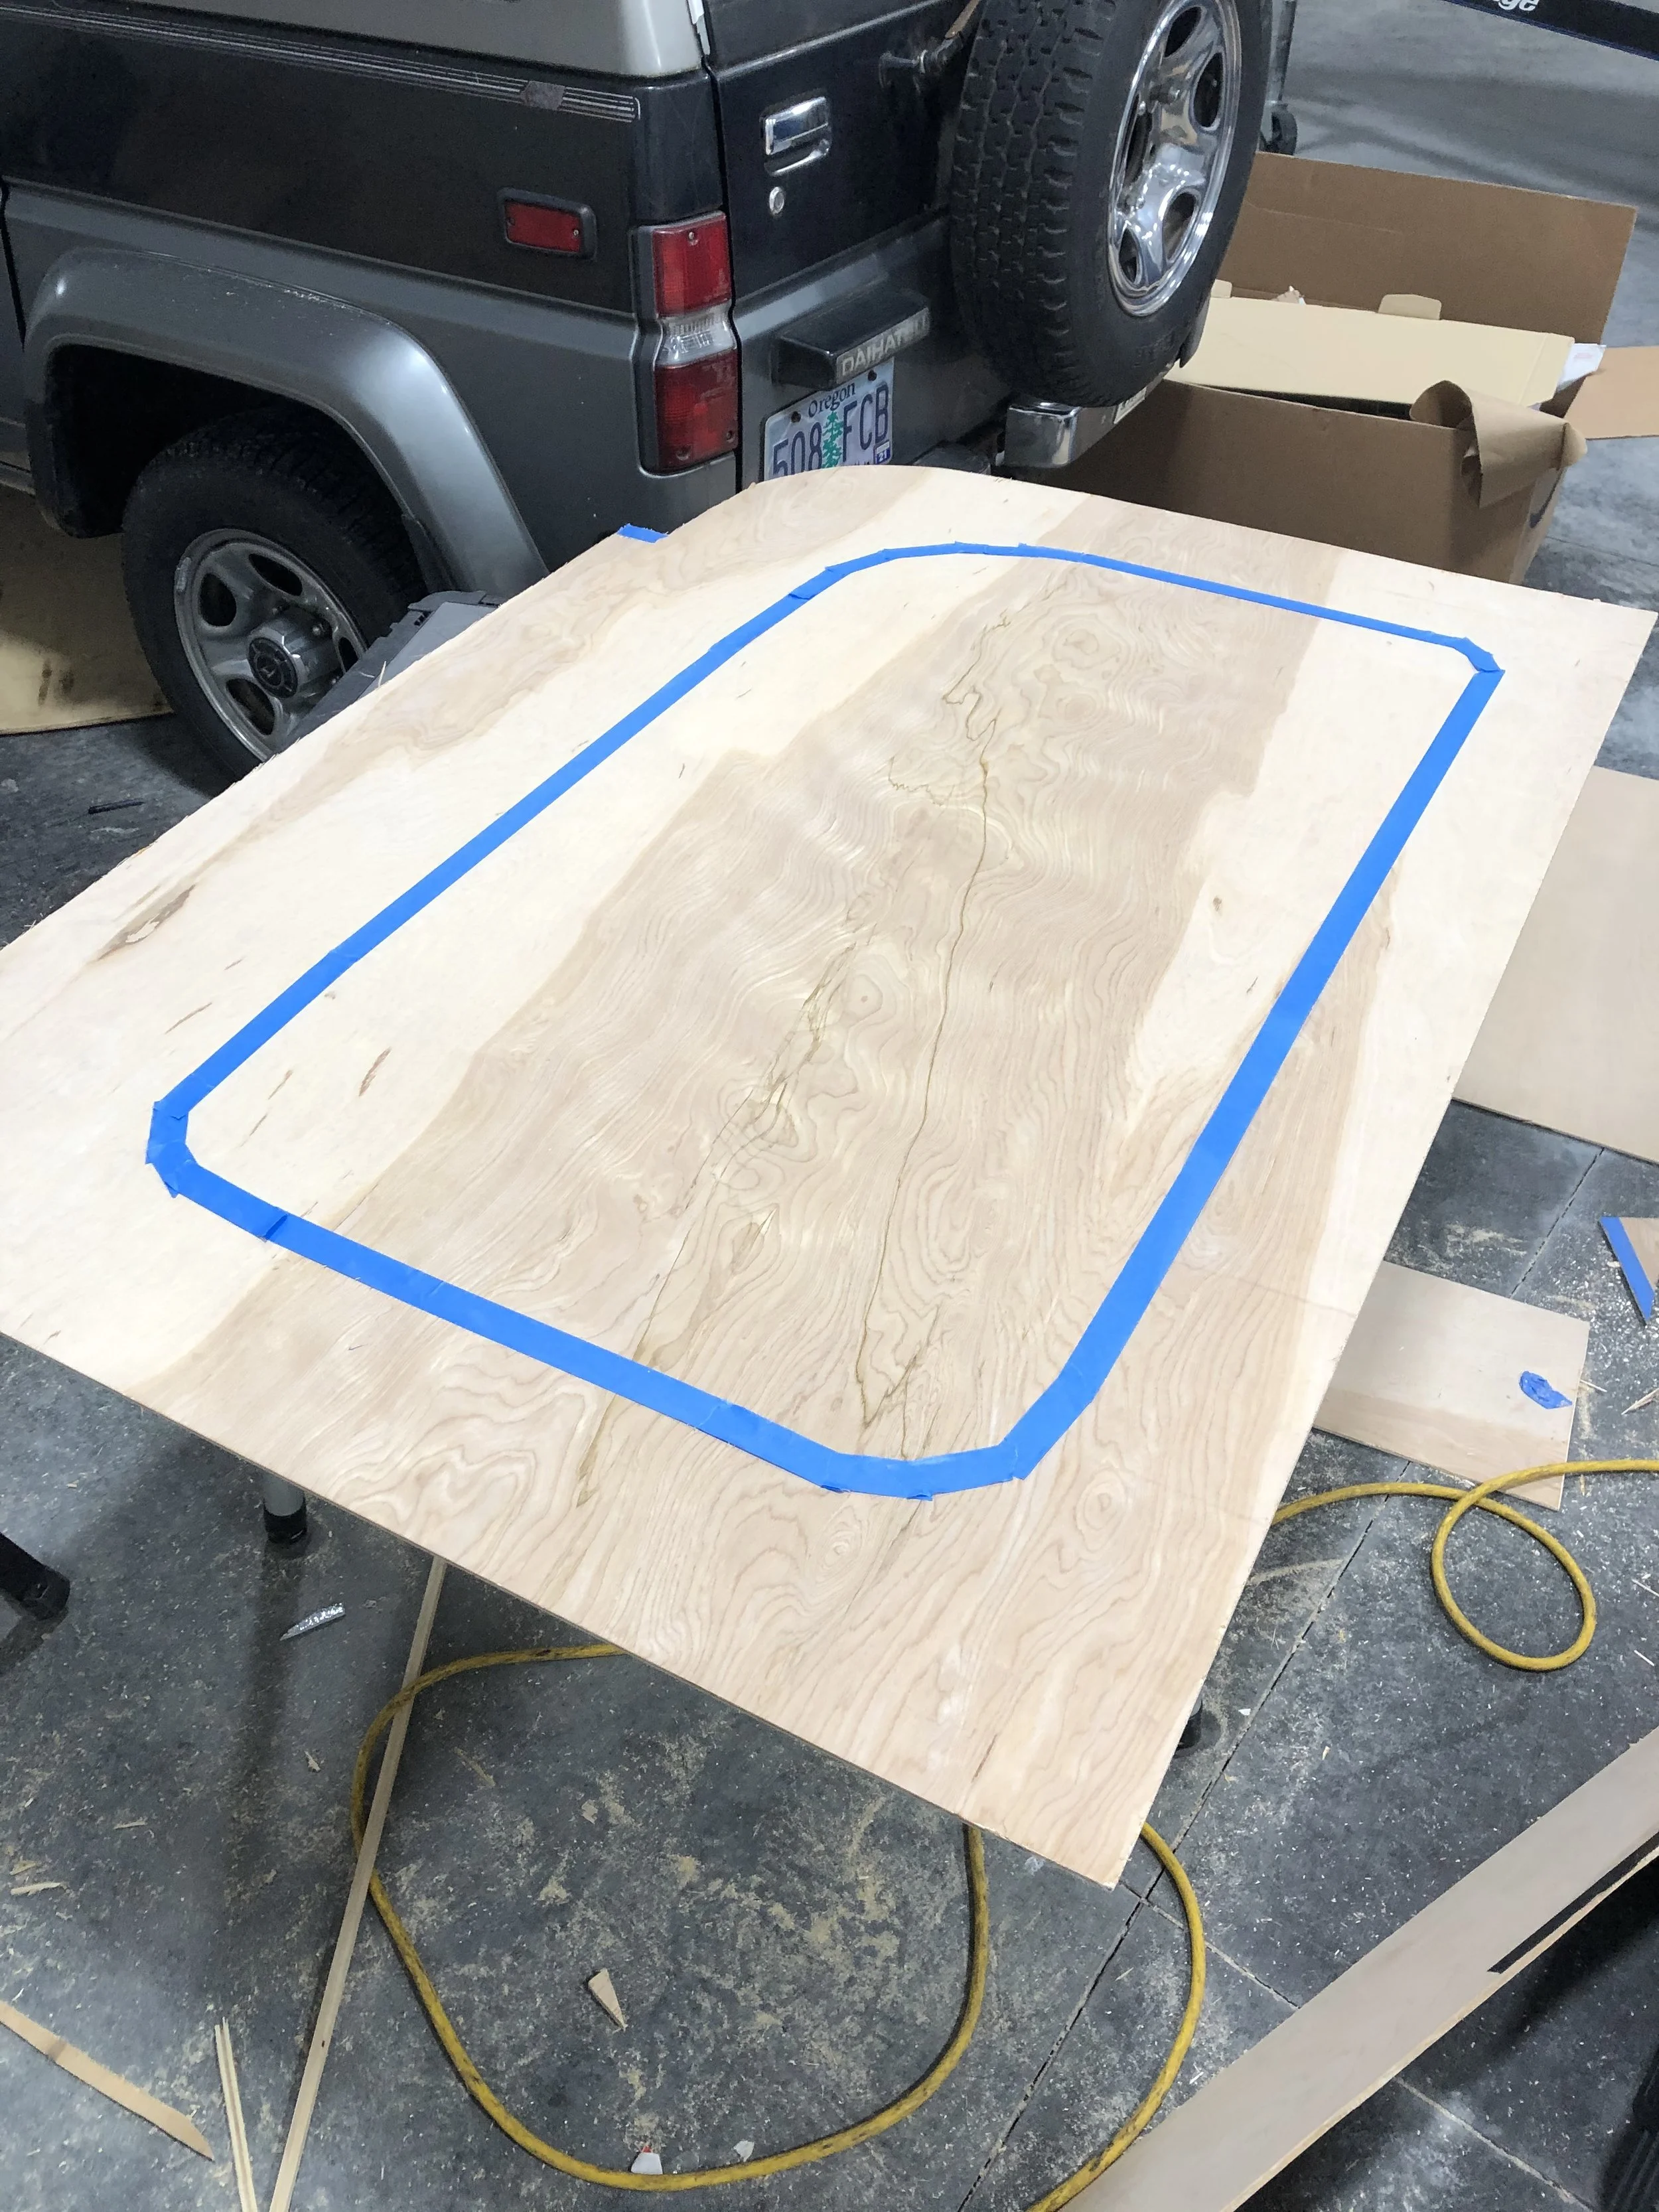
The plywood floor was built in 4 pieces, each from a 4x8 1/2” piece of birch playwood, painted with primer.
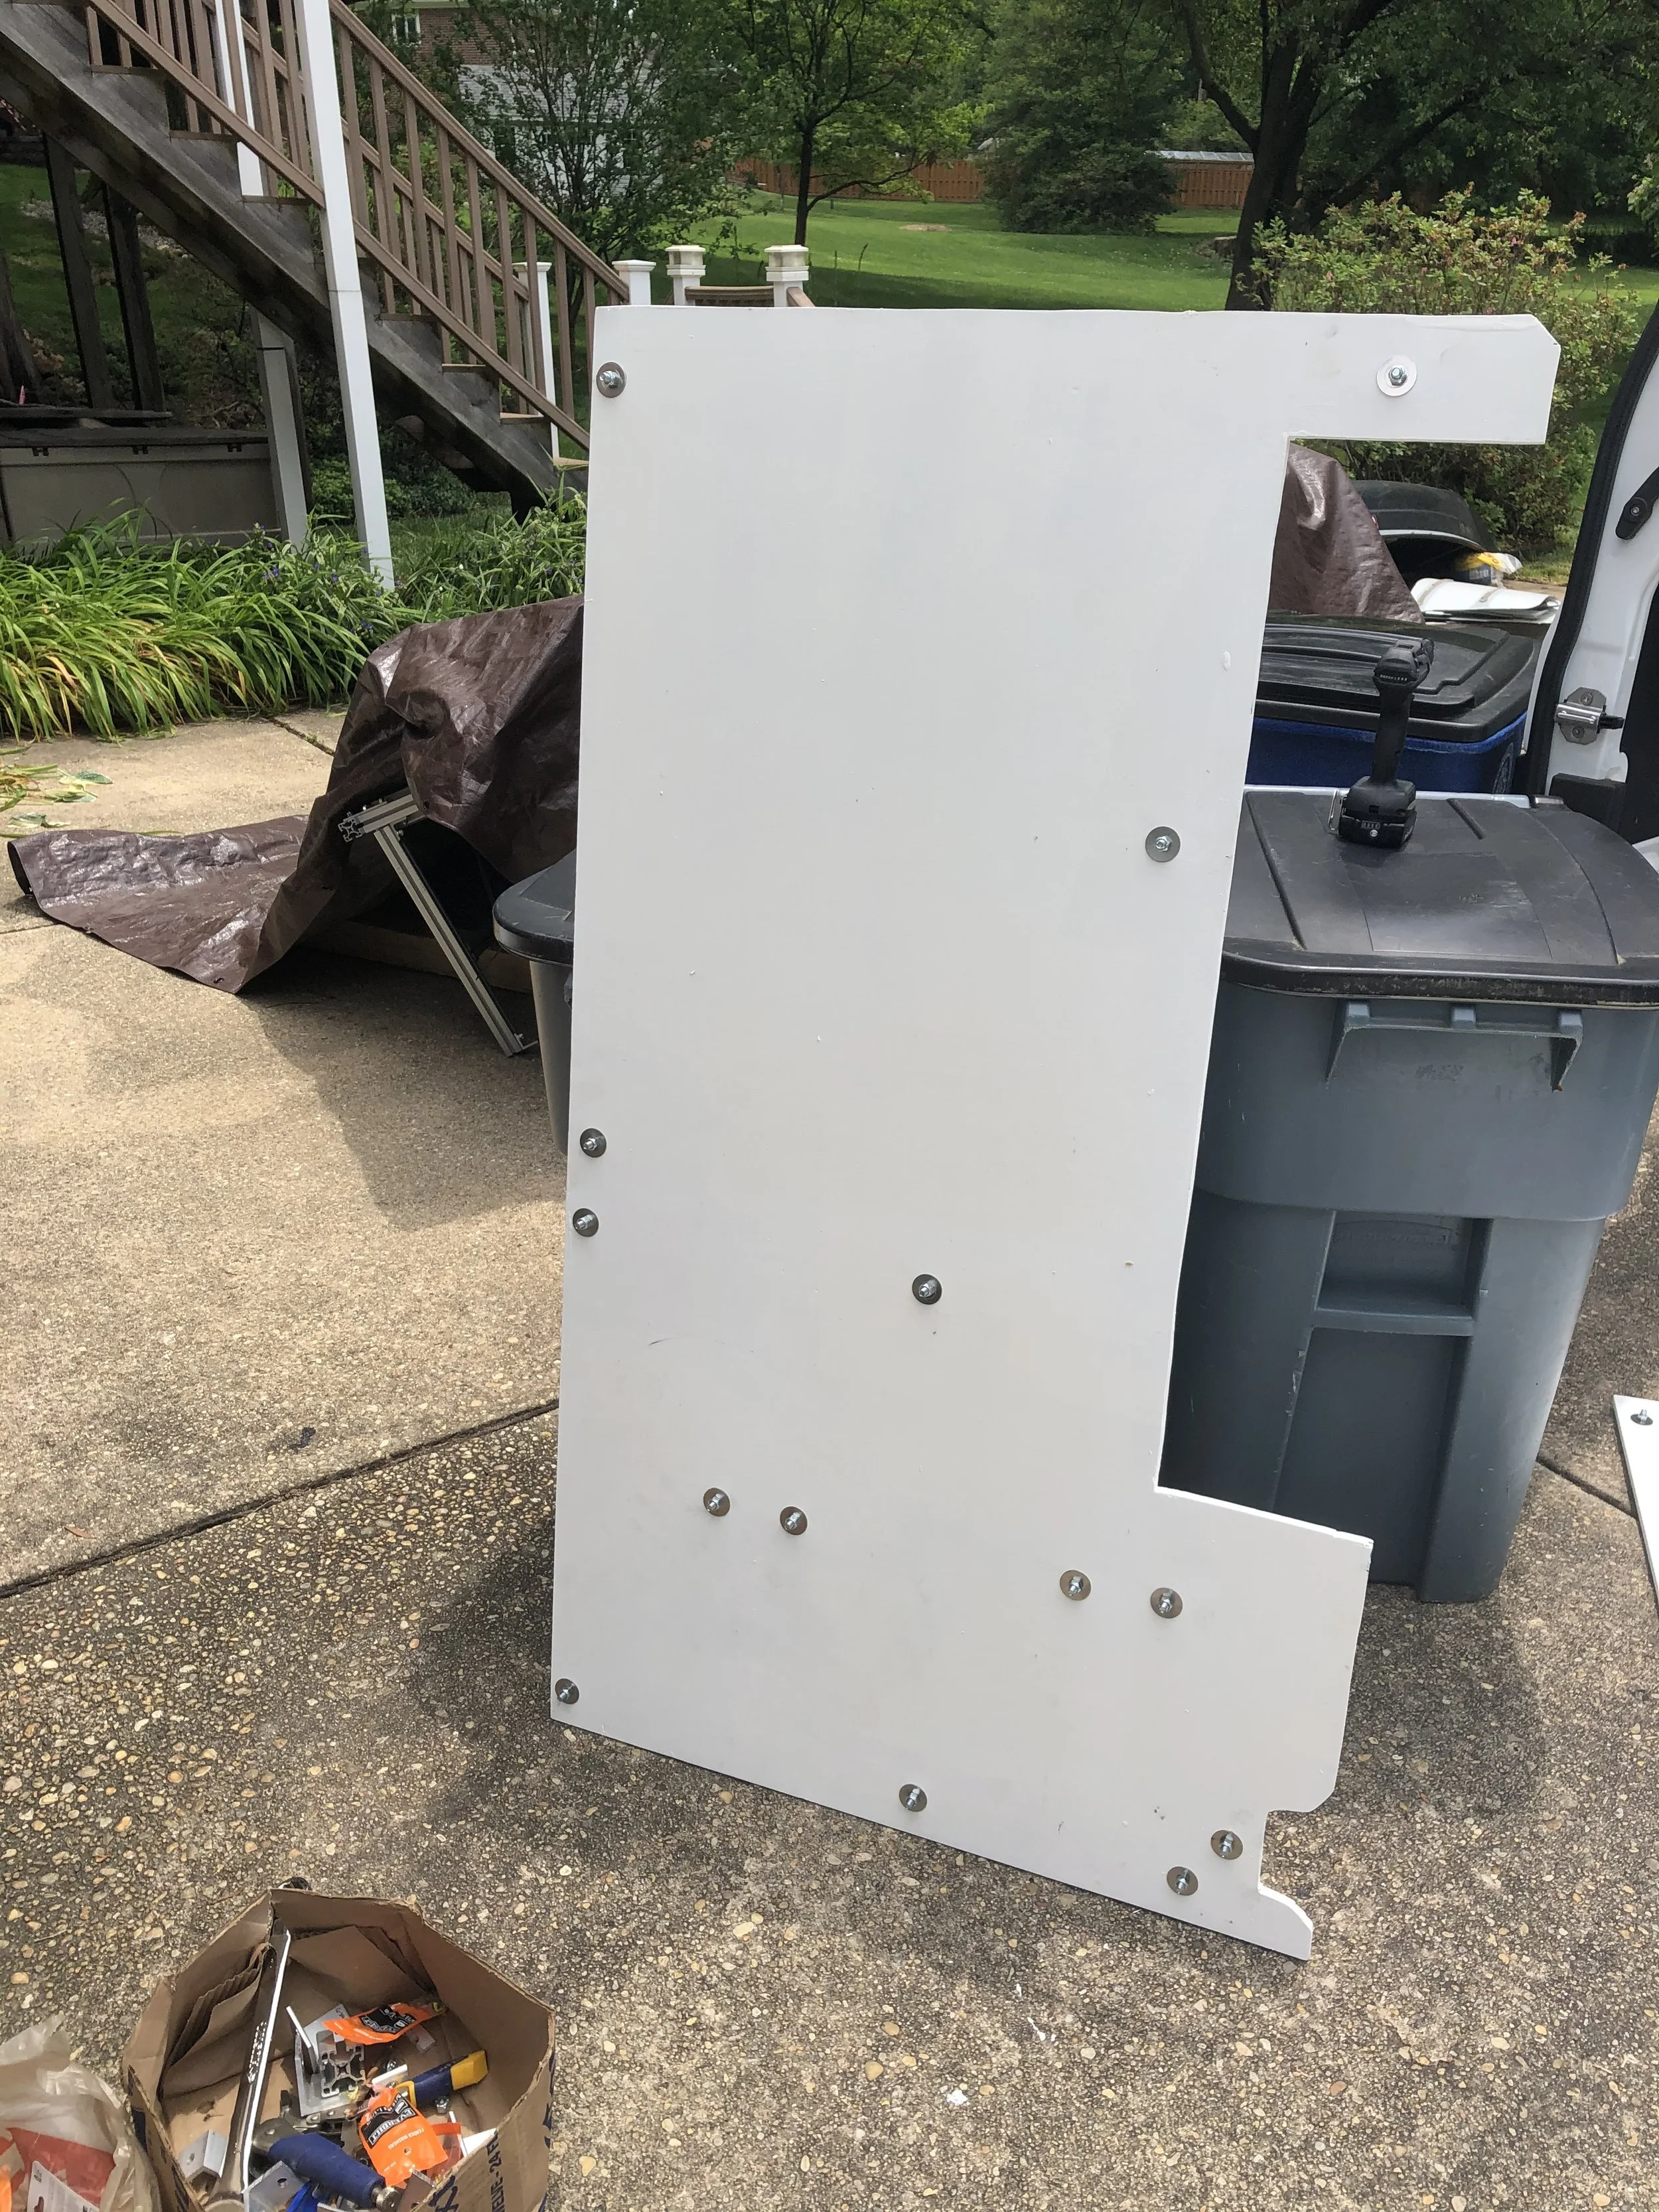
The bottom layer of the interior 80/20 structure was secured to studs anchored from underneath the plywood floor. (Studs — elevator bolts glued with construction adhesive). The plywood floor was anchored to the D-ring tie downs via custom aluminum blocks.
Polyiso rigid foam insulation fills the 80/20 gaps, creating a floor of even thickness with “embedded” t-slots to which the interior cabinets can be anchored.
Vinyl plank flooring fills the walkway and coin pattern rubber fills the side areas; they are taped down.
A layer of fiberglass was added down the center walkway,
A heated floorpad was added on top
The vinyl plans sit at the very top.
The 80/20 cabinetry is then bolted down to the open t-slots


Electrical
Building the electrical system was one of the most satisfying projects, and as I write this, sitting in the van in a forest, with lights, laptop, fan, starlink, onewheel charging, I can say that the power system is the key, central feature of the van’s mobility.
Draws
This follows the pareto principle, 80% of the power comes from 20% of the devices, and those tend to be the big AC appliances. The DC draws are so small by comparison they can practically be lumped together and handwaived.
Water heater (1500W) (AC)
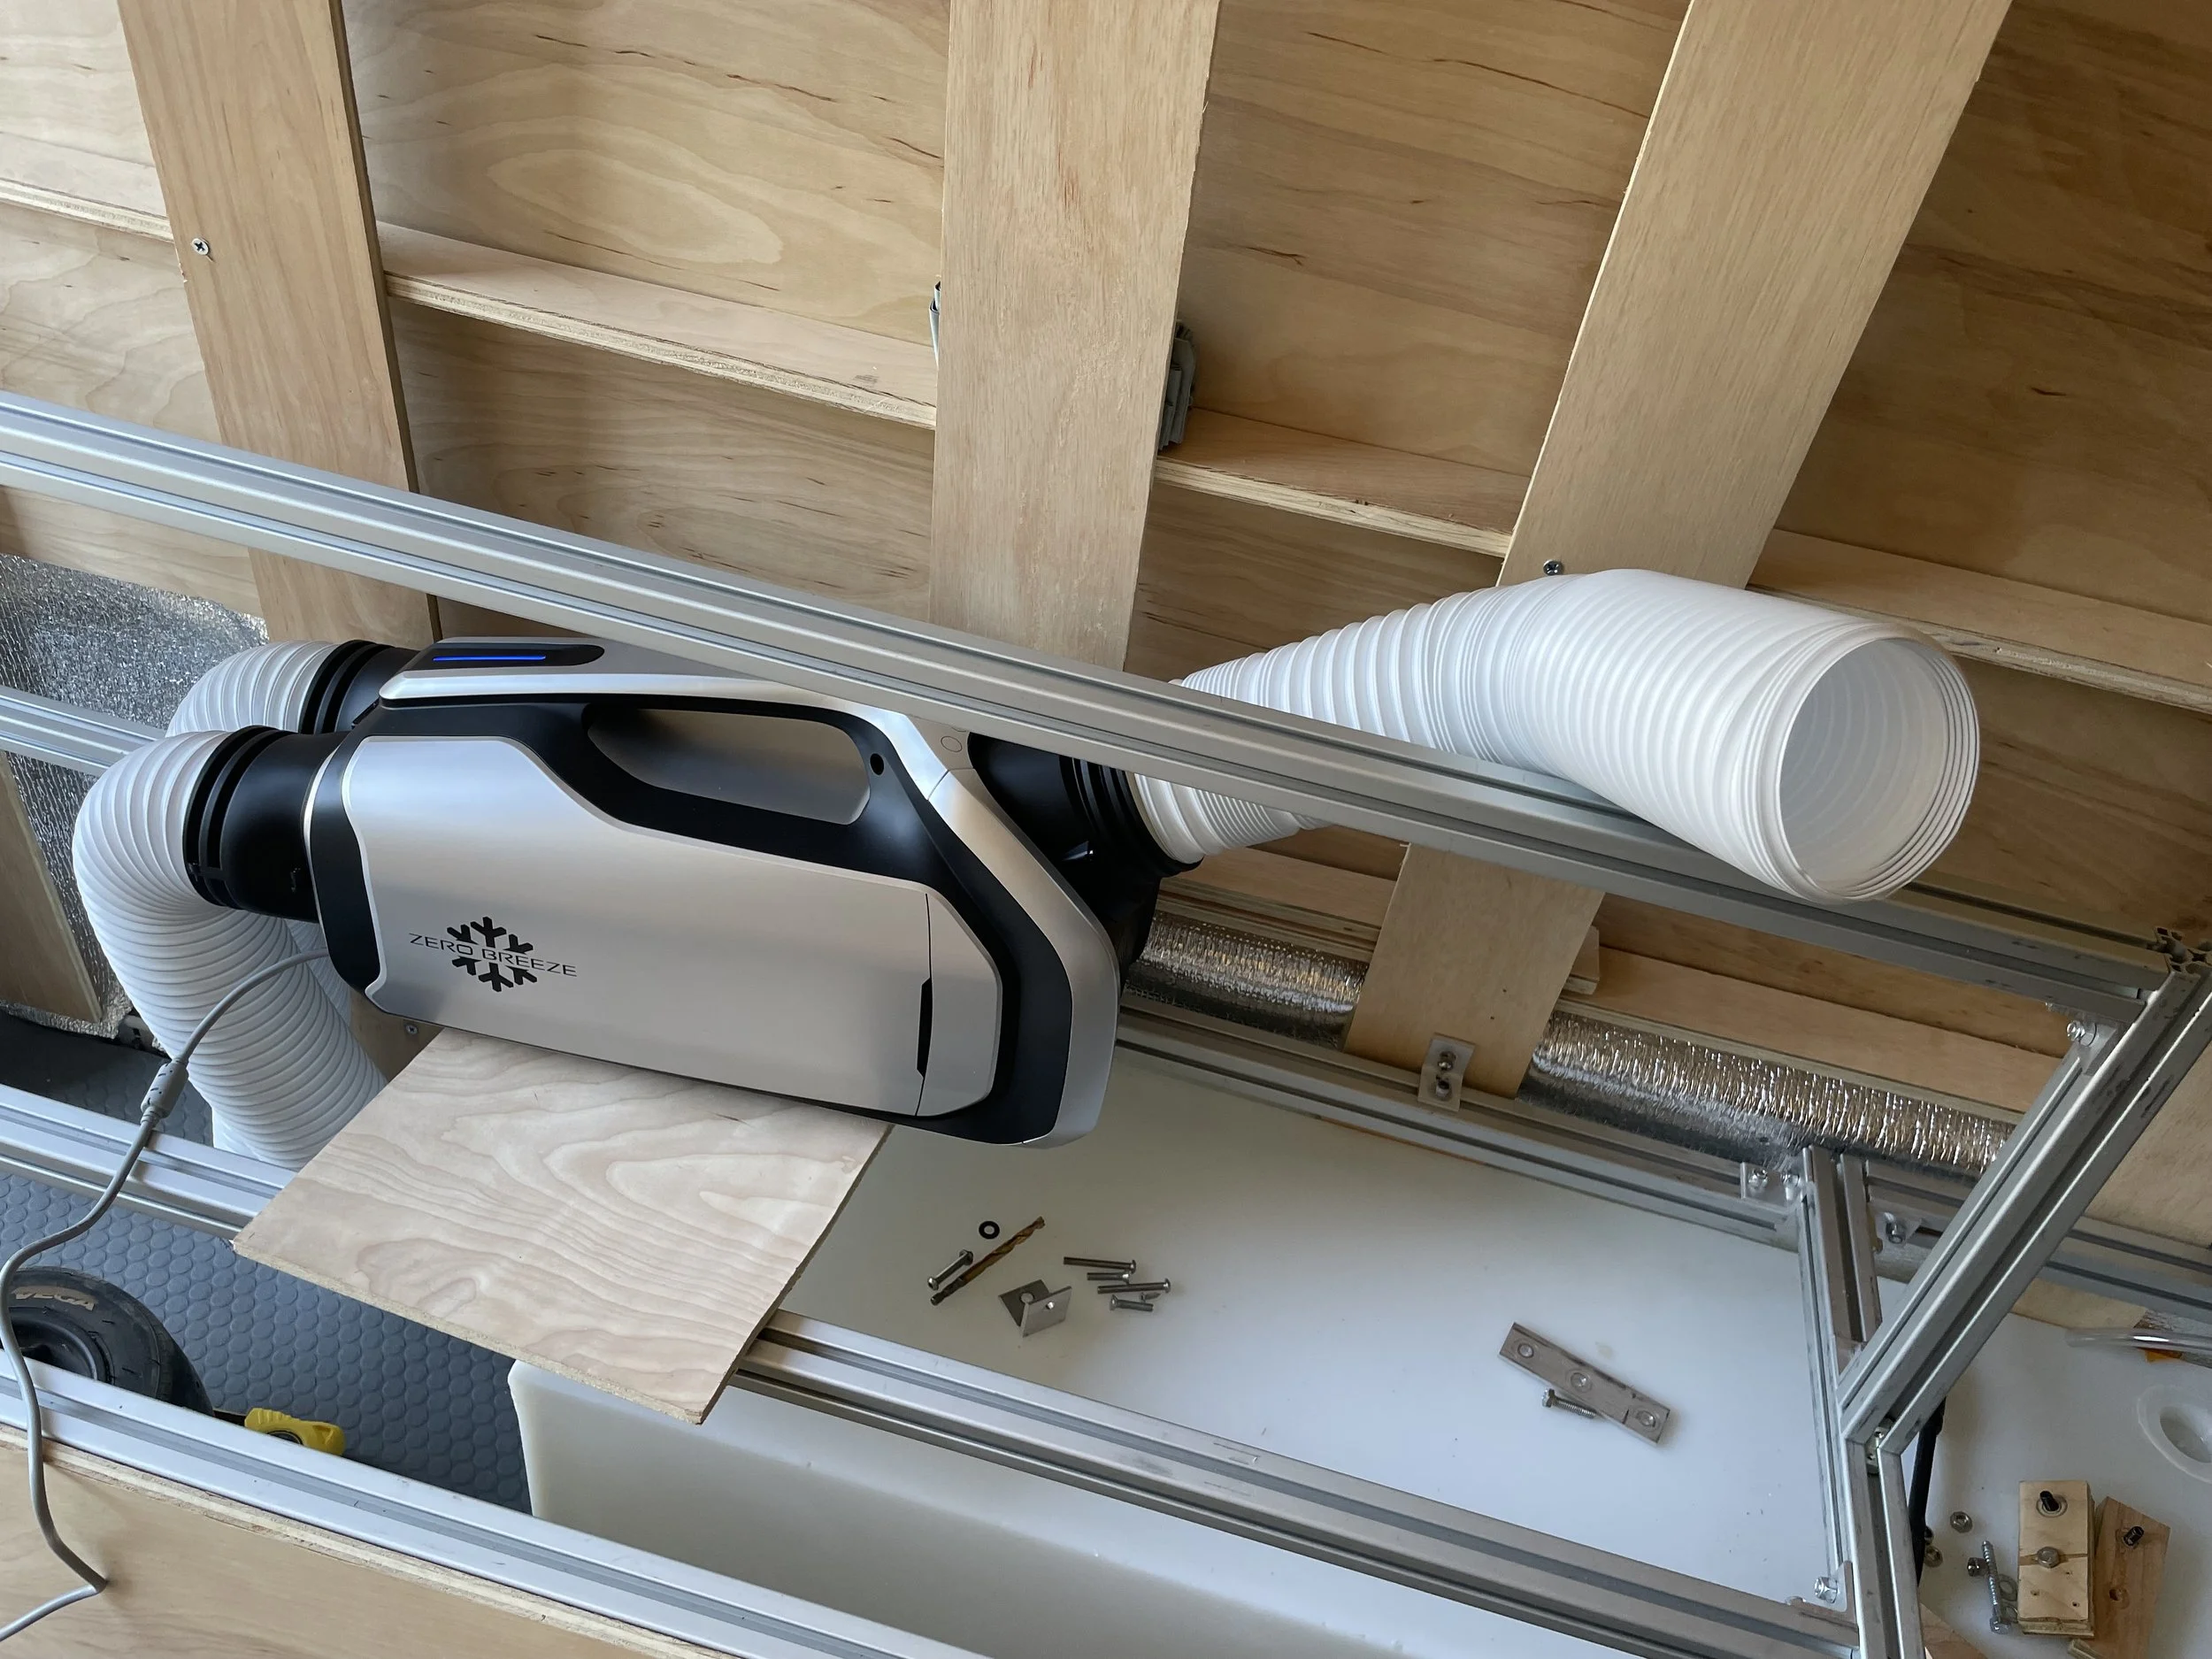
AirCon (300W) (AC)
Laptop (100W) (AC)
Everything else (fan, toilet, lights) (100W) (DC)
Sources of Power
Most vans have a subset of these, such as alternator-only (no solar) or solar only (no alternator).
Car alternator (while driving)
Solar Panels
Shore power
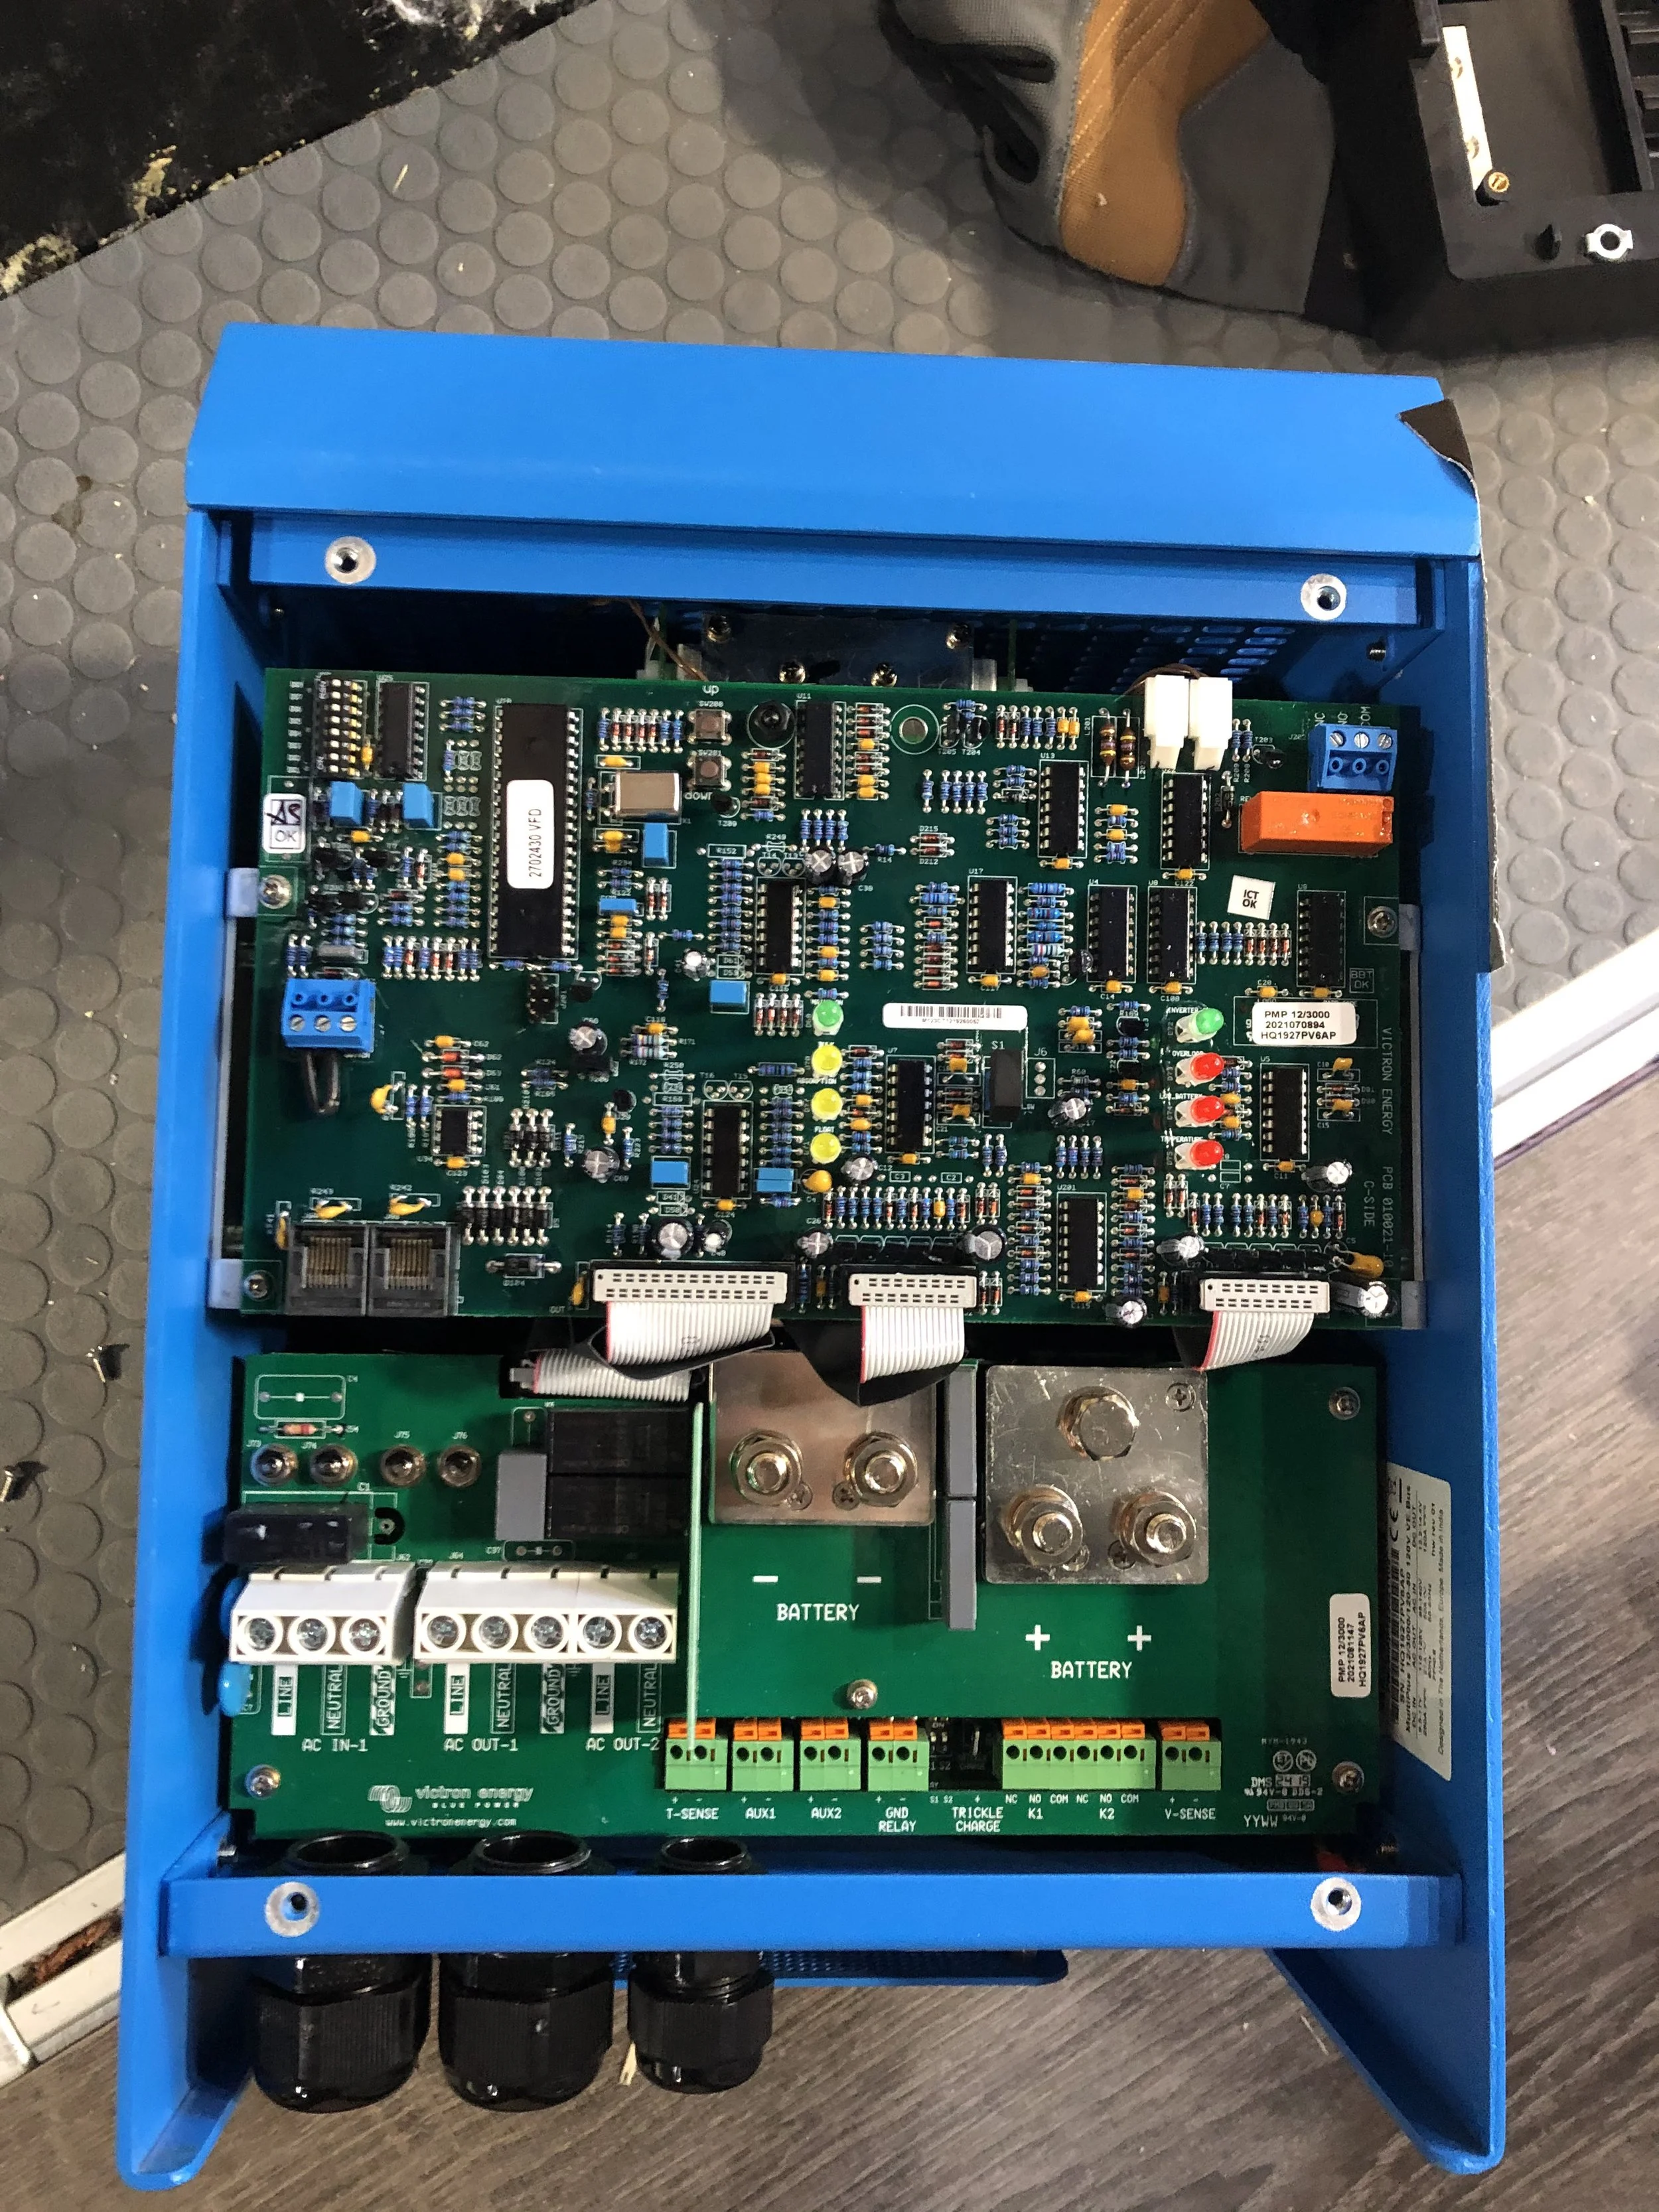
Victron MultiPlus inverters contain a charger and a transfer switch. These features allow the batteries to, respectively, be charged up from shore power, and for the van’s AC circuits to be directly run off shore power while plugged in, bypassing the inverter function altogether.
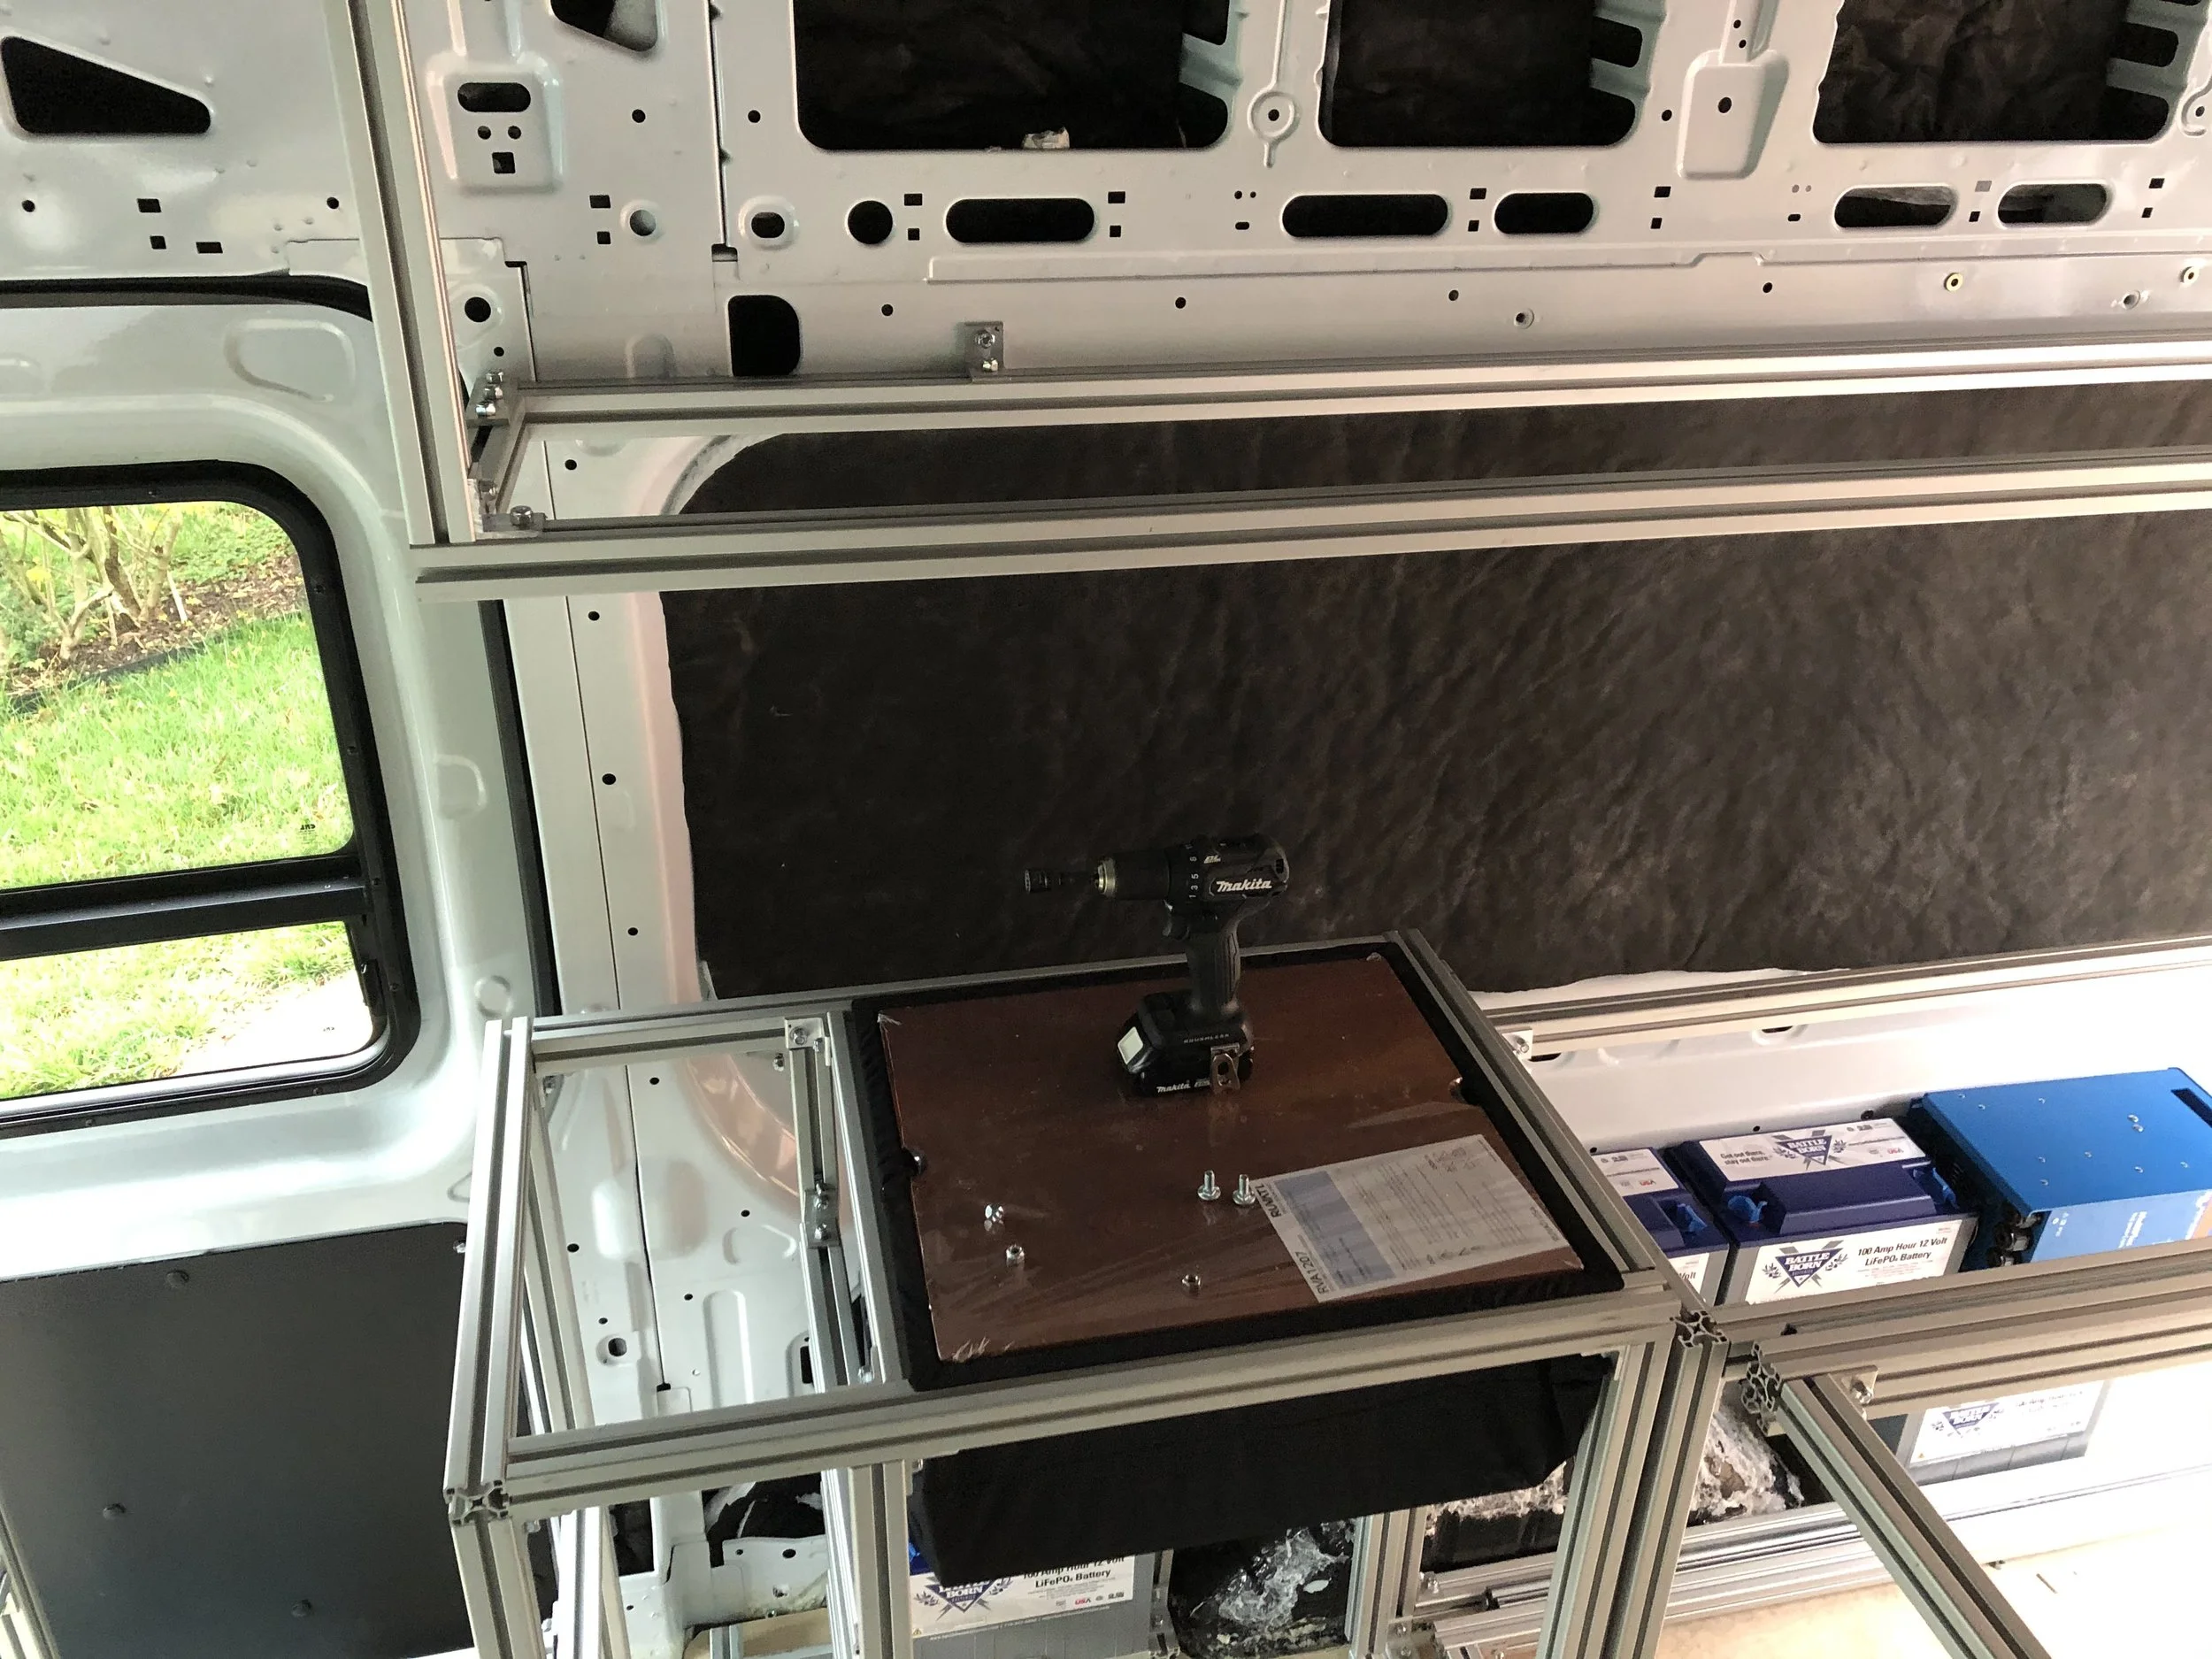
Store of Power
LiFePO4 Batteries, 4 x 100Ah
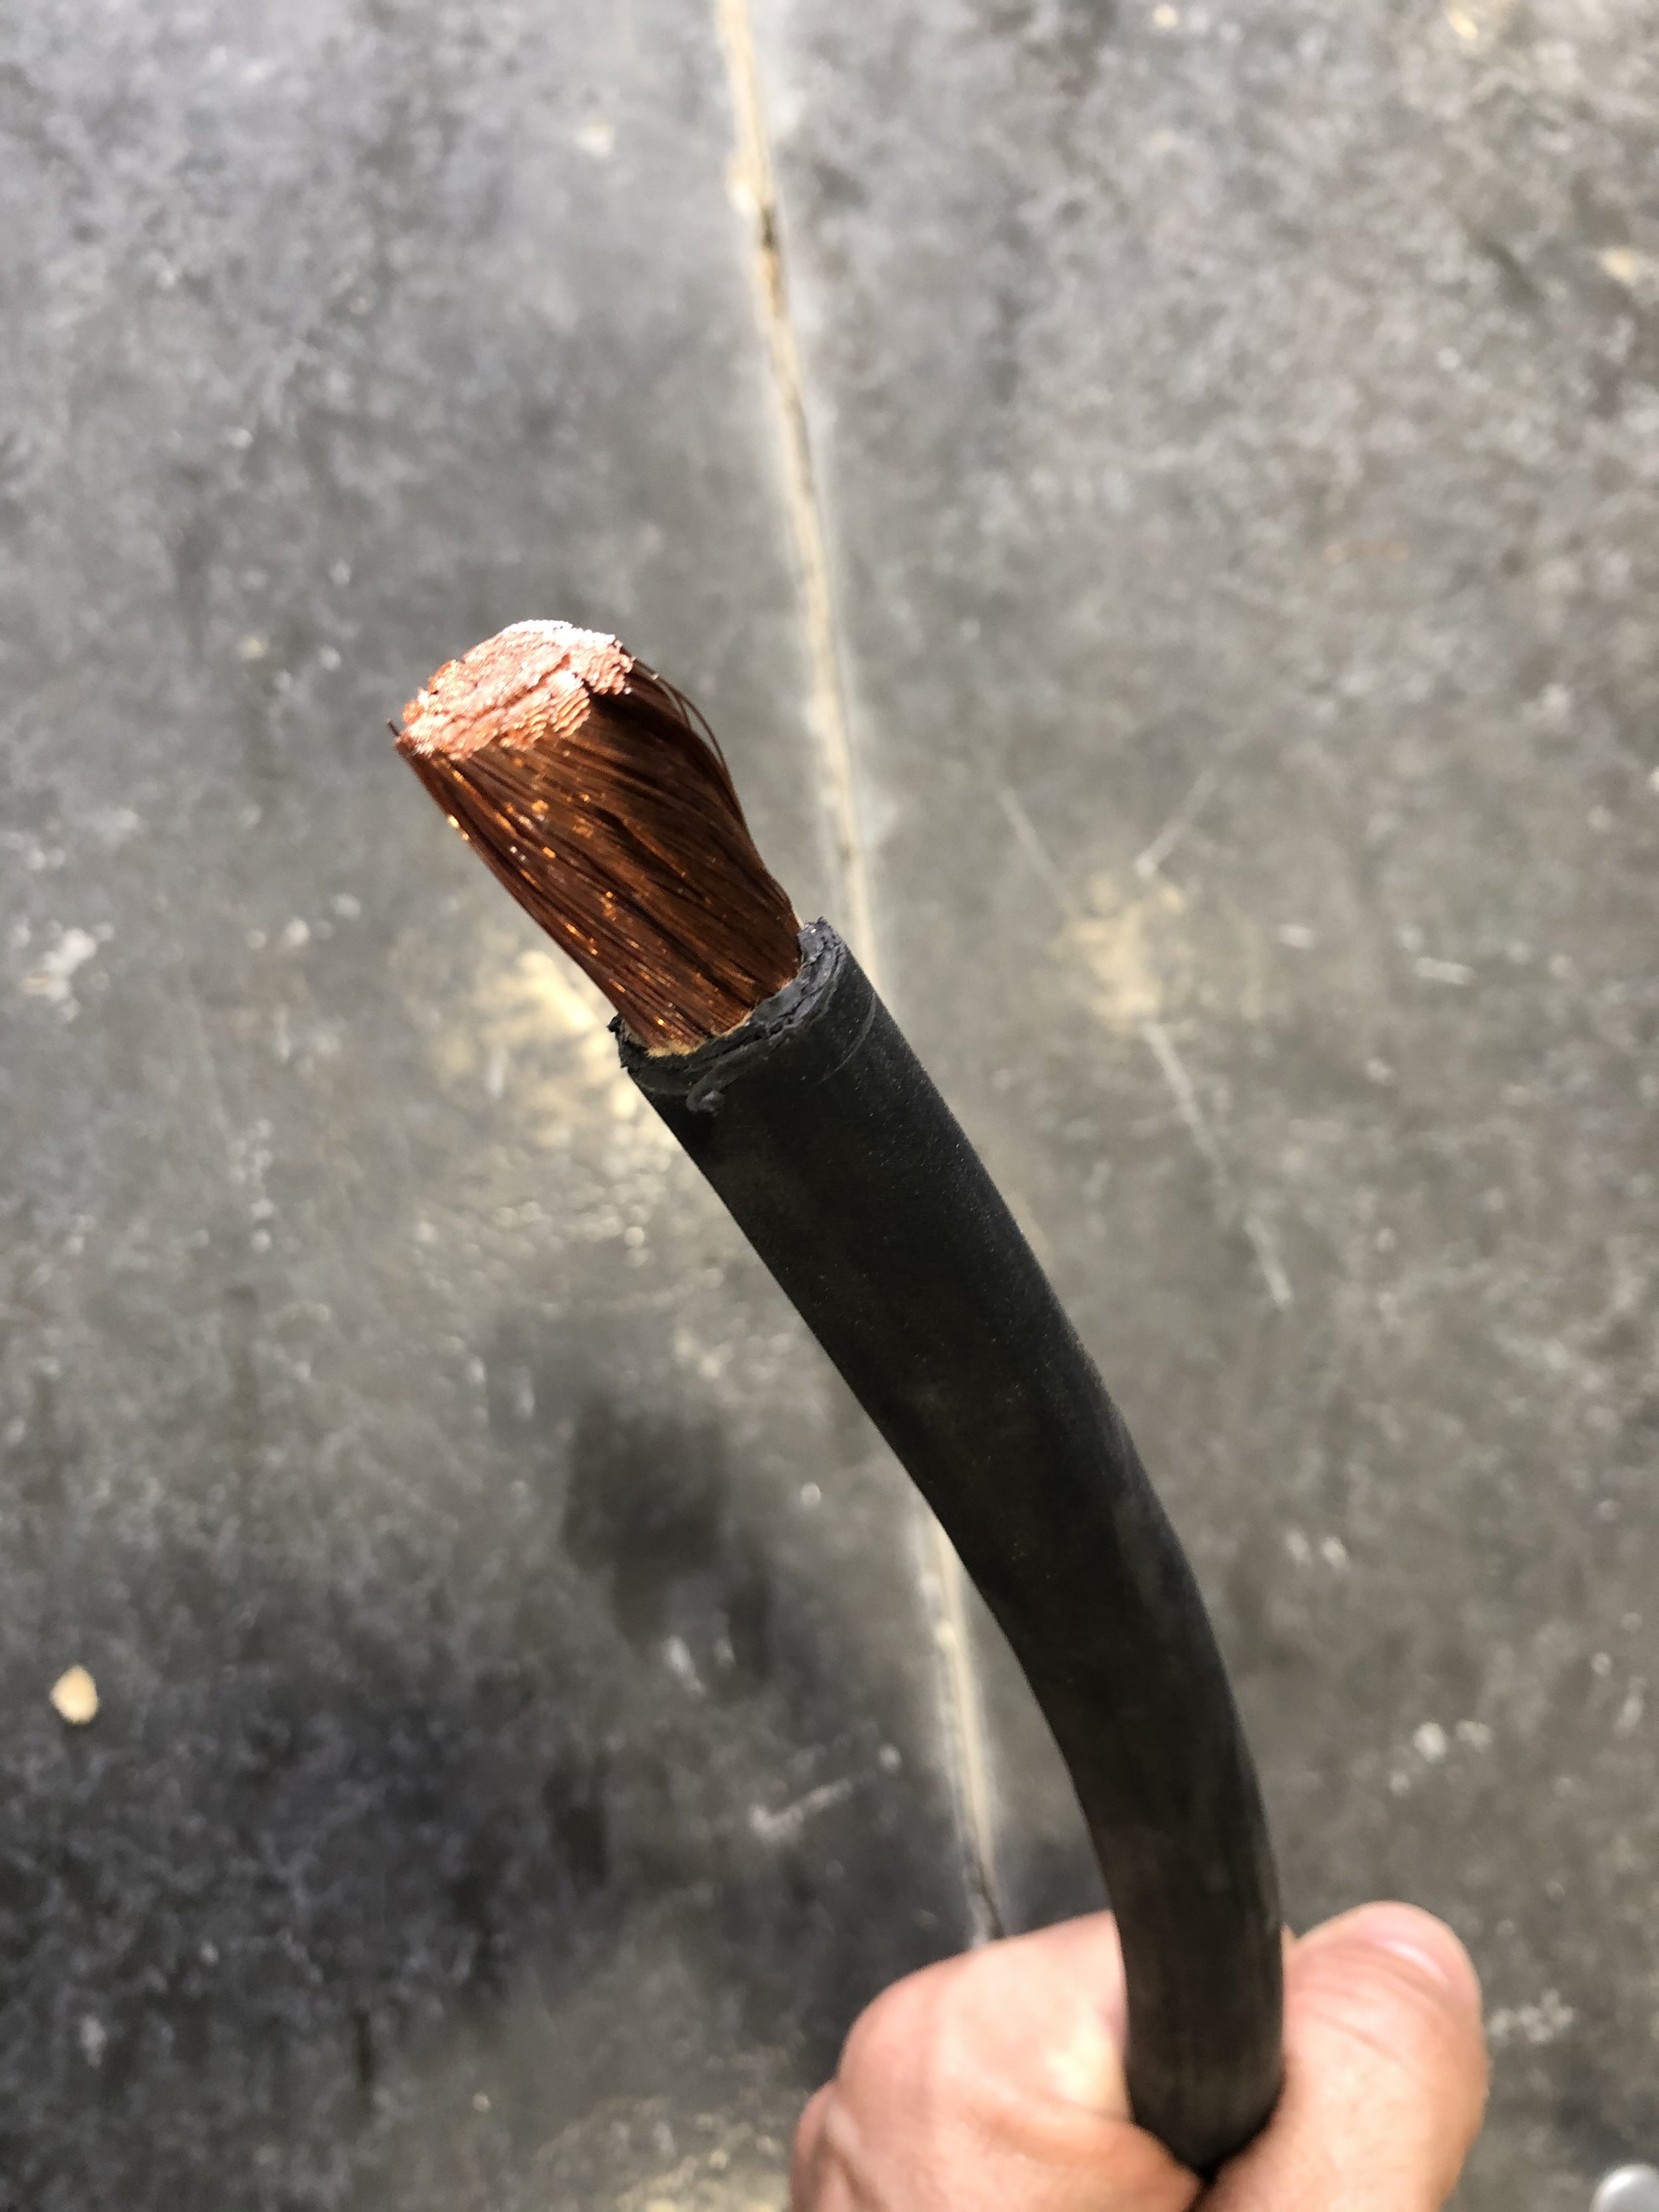
Wire Sizes
Battery to battery, ground 4/0 AWG welding cable
Battery to inverter: 3/0 AWG welding cable
Inverter to AC Distribution: 6/3 cable
Inverter to DC Distribution: #2 AWG
AC Distribution to AC Outlets: 12/3 (20A) or 14/3 (15A)
DC Distribution to DC appliances: 18AWG - 12AWG


Design & Layout
A DIY van build offers you the chance to construct a swiss-army knife that supports your life needs and the activities you like to do. Naturally, these vary for each person. Here’s the process I followed to design something that would work for my goals. I planned to spend > 1 year living in the van full time while traveling around the west coast of North America.
Goals:
Stealth: ability to blend into cities, i.e. no external racks or obvious RV features
Full-time living: supports work and play, 3 meals a day
Four seasons: heat, ventilation, cooling, insulation
Multi-sport: mountain bike, snowboard, climbing, surf board, onewheel
Then, I began prototyping.
3d sketchup model: this helps to play with different layouts and textures without committing.
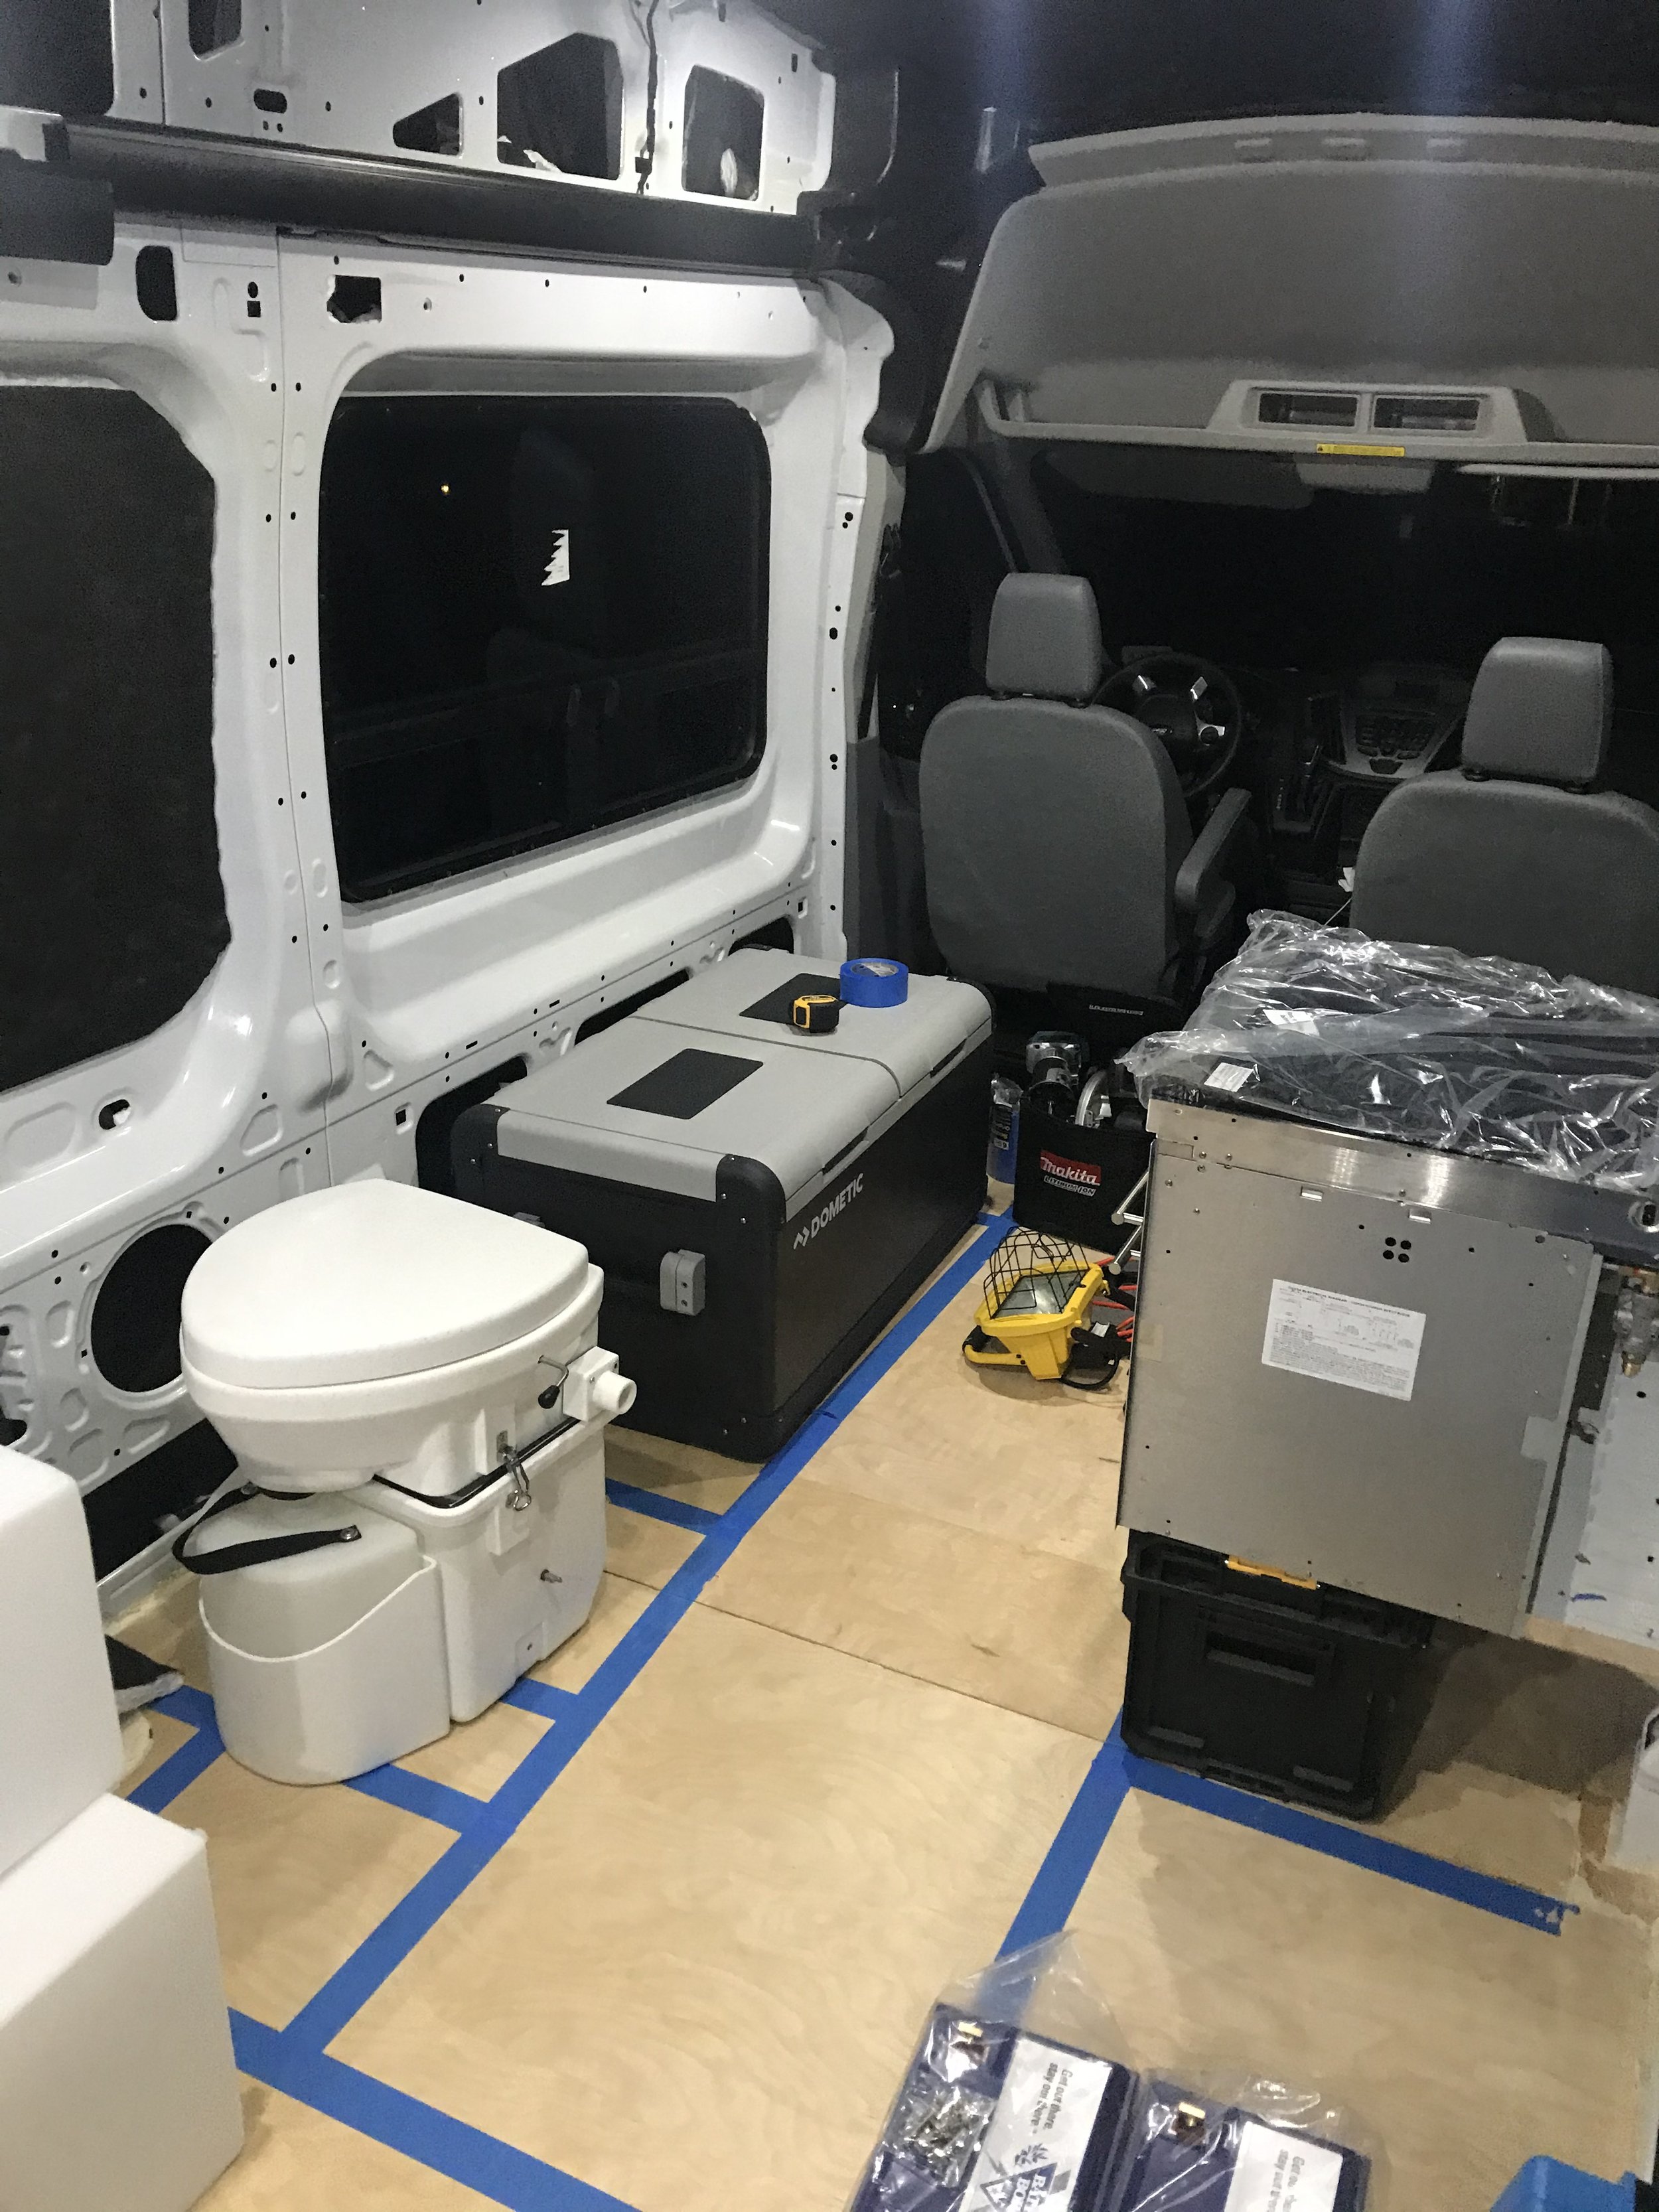
3d tape-up: offers a feel for the physical space.
This helped me realize I did not want a fixed shower stall or any other walls within the van.Component layout (after ordering components)
Framing (covered in an entire post)


Slats
Lorem ipsum dolor sit amet, consectetur adipiscing elit, sed do eiusmod tempor incididunt.
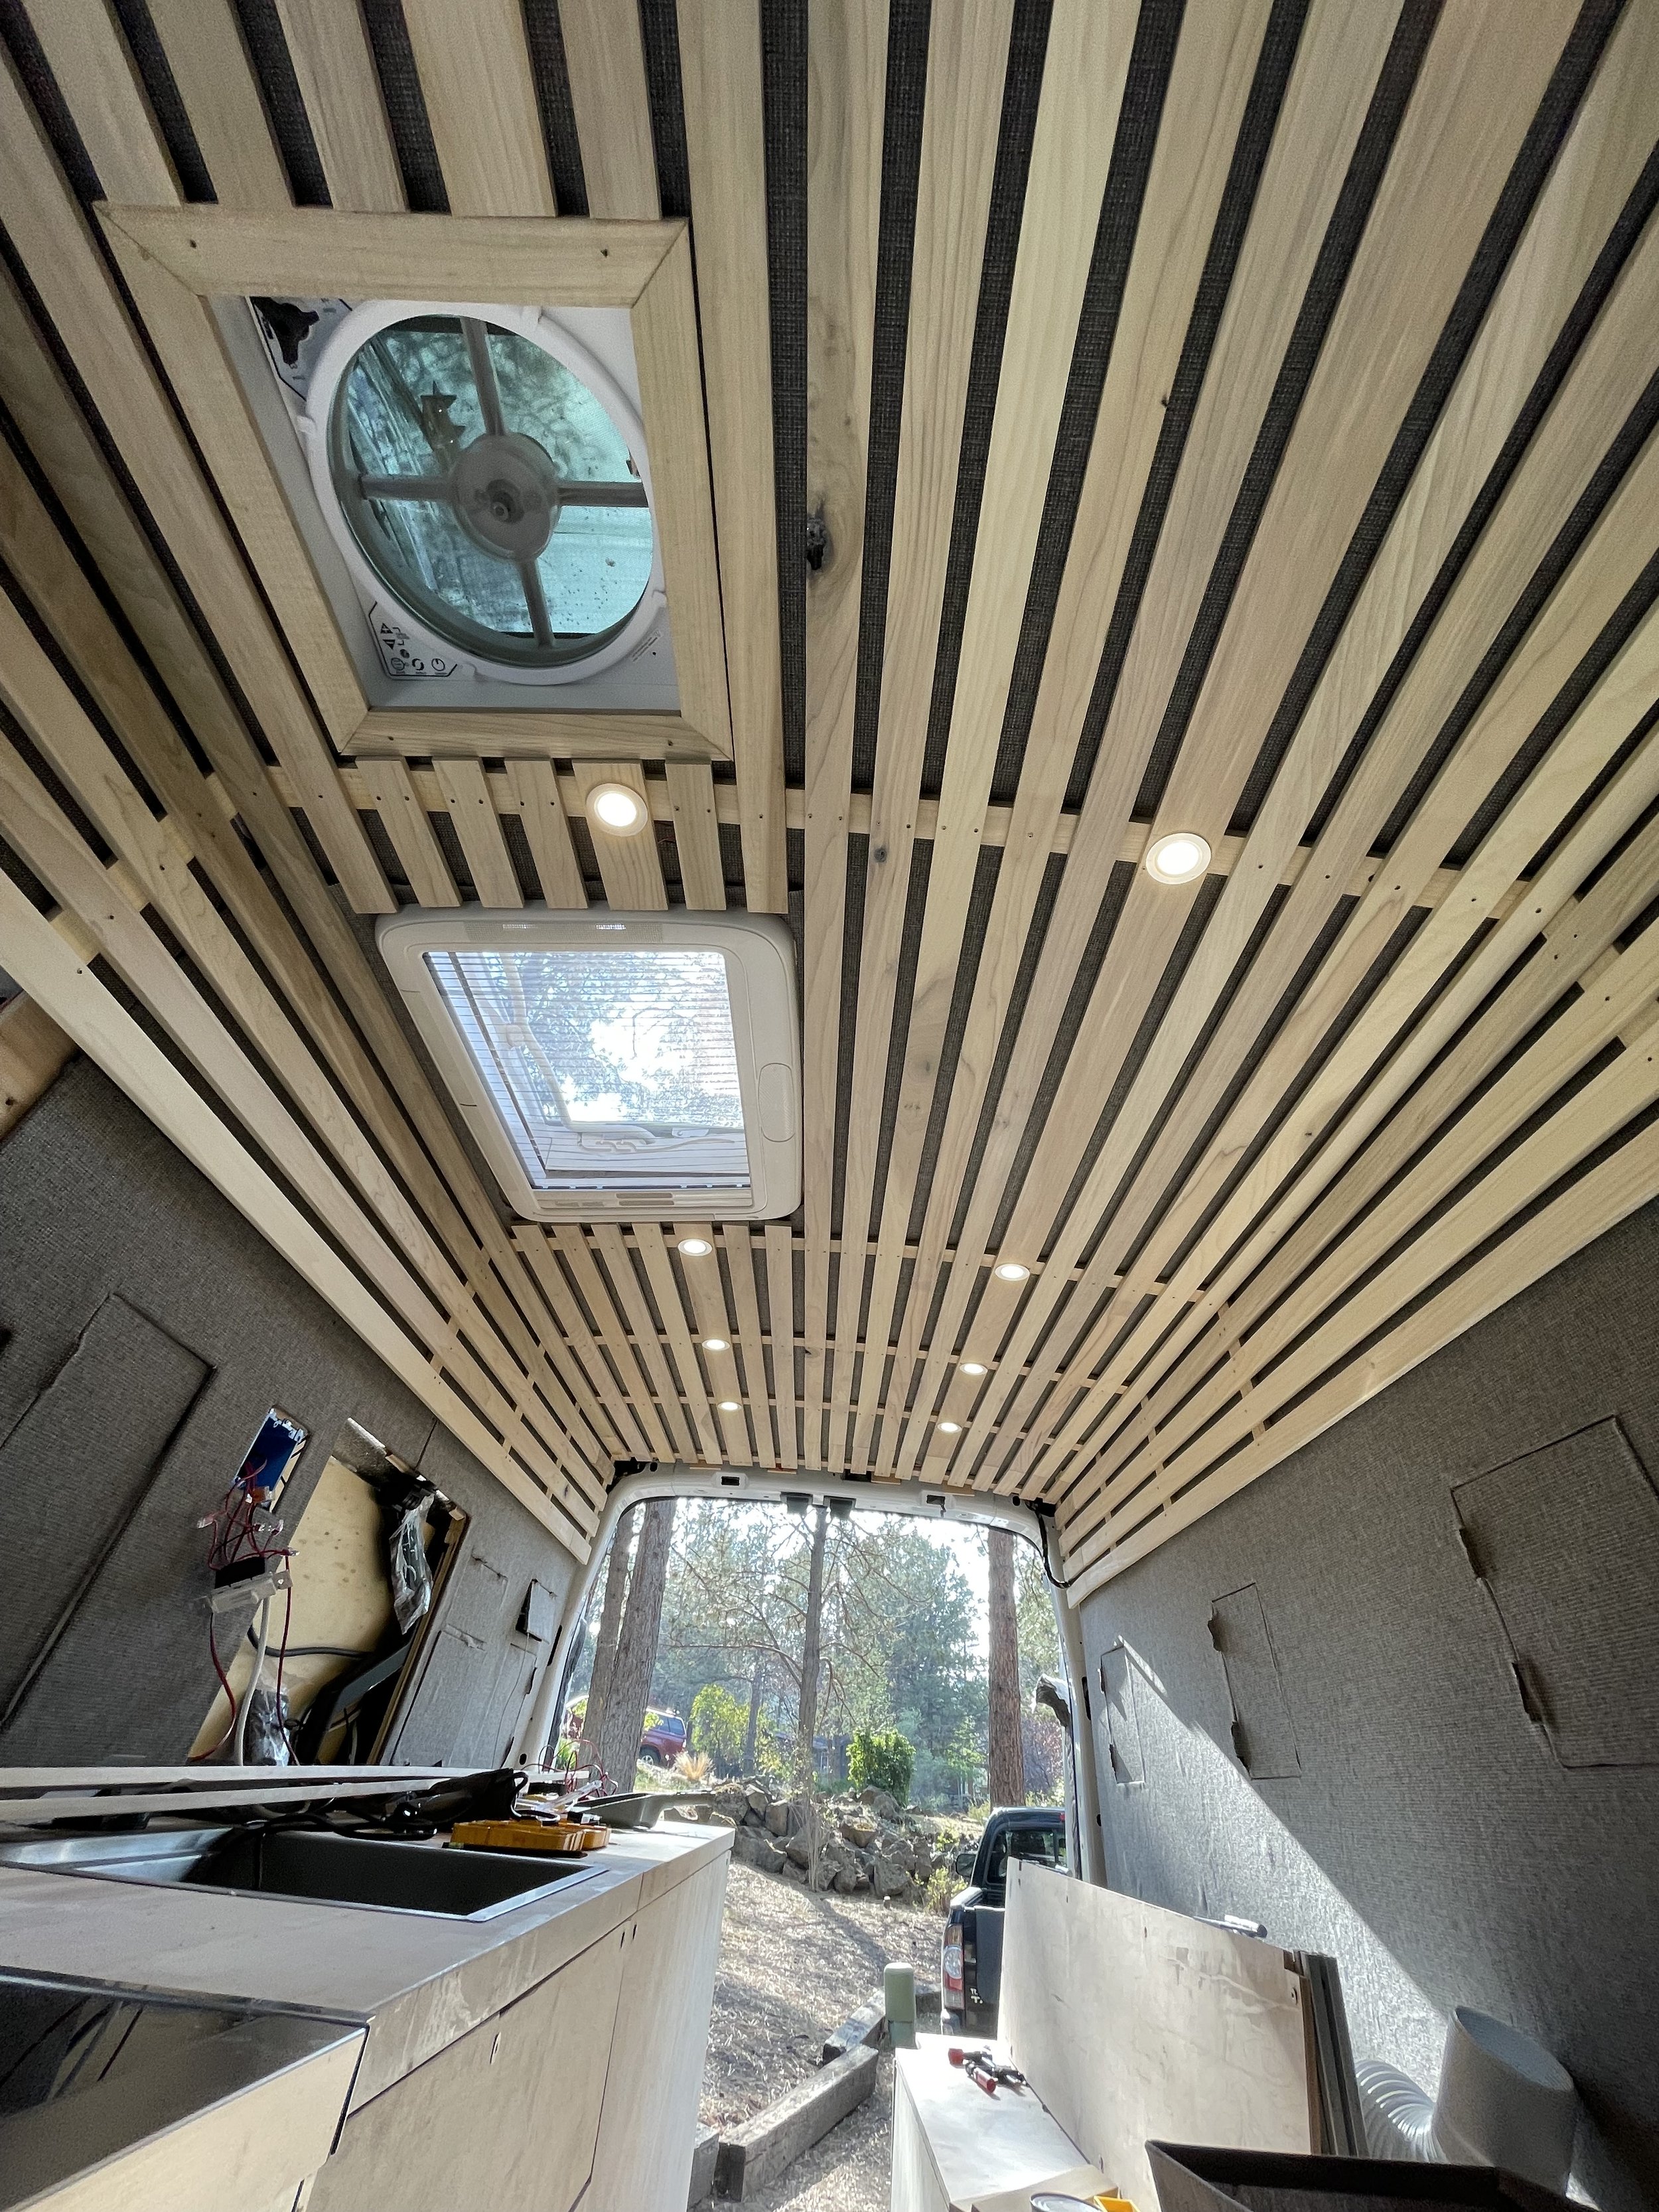
Dare I say, the wooden slats “make” the van. They draw a lot of compliments and rate 10/10 on both form and function. They give the van an airy, fresh, outdoorsy feel without the visual monotony of solid wood paneling or tongue-and-groove.
Tweed upholstery beneath the slats creates a varied texture. The shadows change depending on the light. The lengthwise slats sit over top the widthwise ones, creating a space for hooks and lashings for drying clothes, surf boards, baskets, etc.
10 puck lights are inset into two of the slats, which are 3” wide to old the lights and are wired into two dimmable zones, one for the front of the van and one zone for the bed.
The slats idea was inspired by @quinsvan, specifically the timelapse post that made me think, I can do this! He in turn drew inspiration from @theryovan.
Planning
Estimate amount of wood required.
This is a function of the space to be covered, the slat width and the space width. Here were the values I used:
Puck lights track slat width: 3”
Slat Width: 2” (5.08cm)
Space between: 1” (2.04cm)
Total coverage: width 75”
Puck lights
Procurement
Order the wood.
After being unable to find long pieces in 1/2” thickness at local lumber shops, here’s what I ordered from Woodworker’s Source.
1/2” poplar Poplar 1/2" Thin Lumber Random Widths, Random Lengths You will get more than enough to cut this: 50pcs x 3.25" x 120" Qty: 204 Sq. Ft. (approx)Note: I ordered more than 2x the quantity I ended up needing. 100sq ft would have been sufficient.
Execution
Once the slats are cut into 2” pieces, they tend to warp, so it’s important to move quickly from cutting to screwing them into the ceiling.


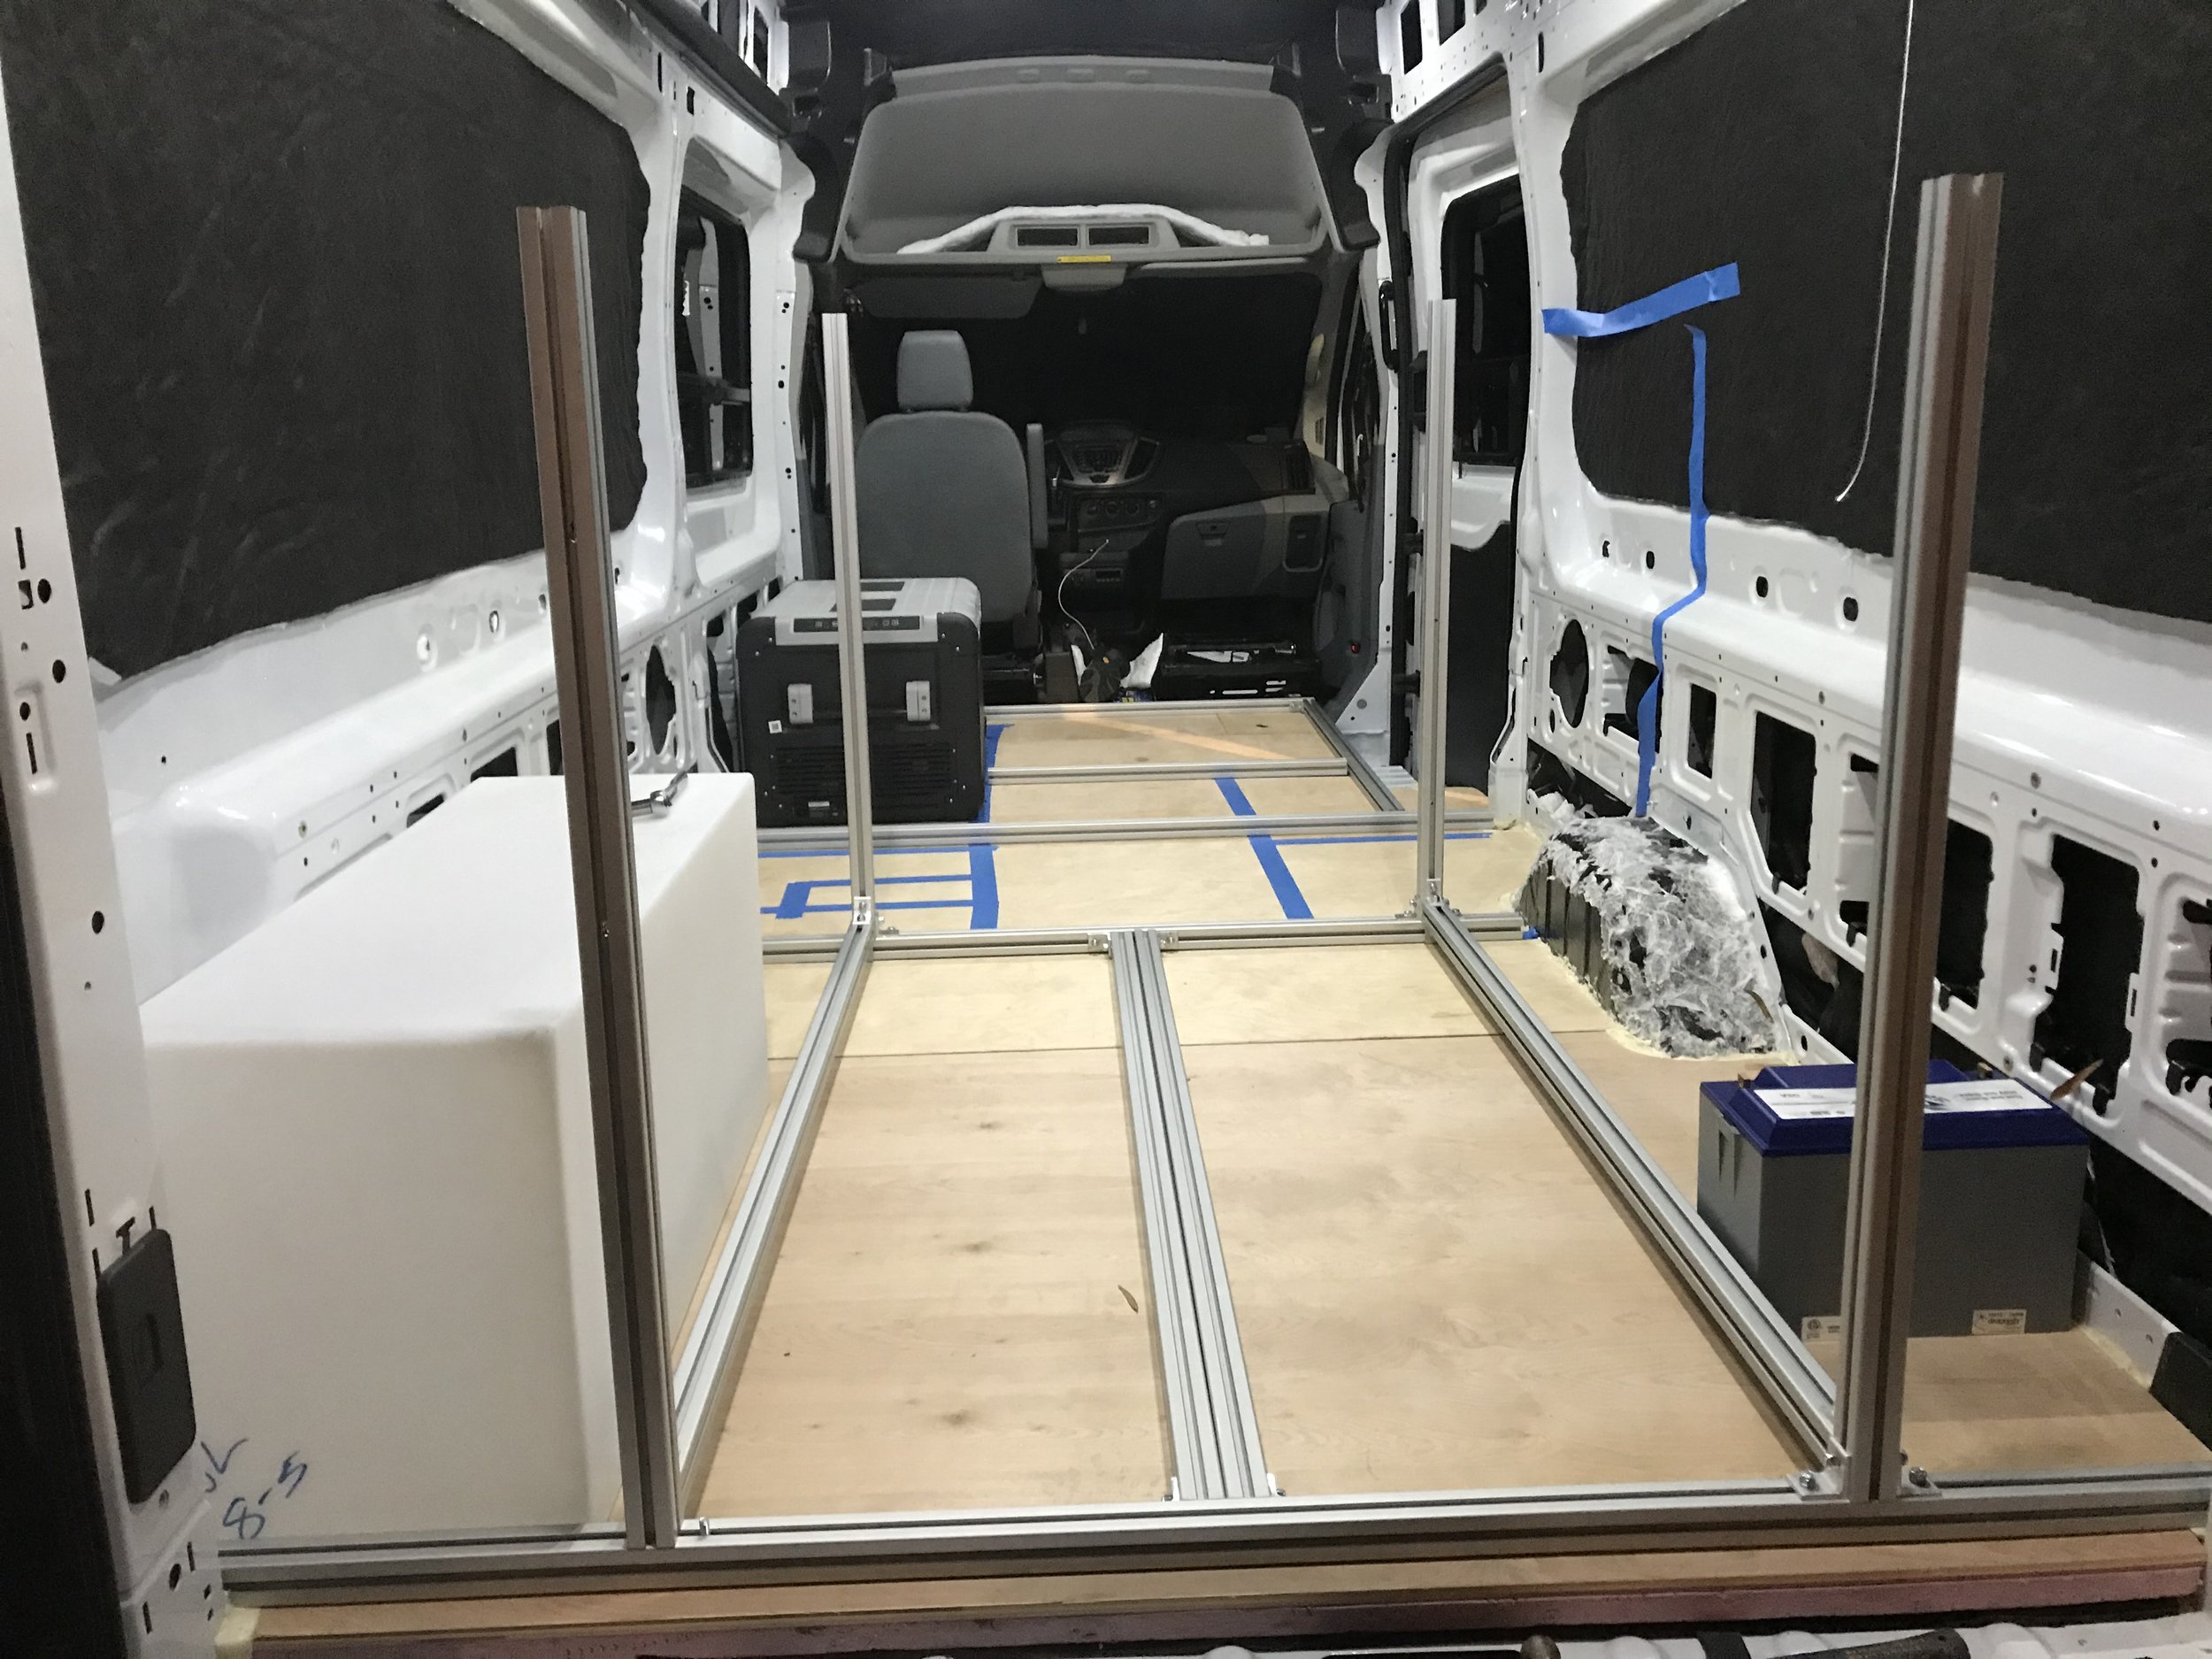
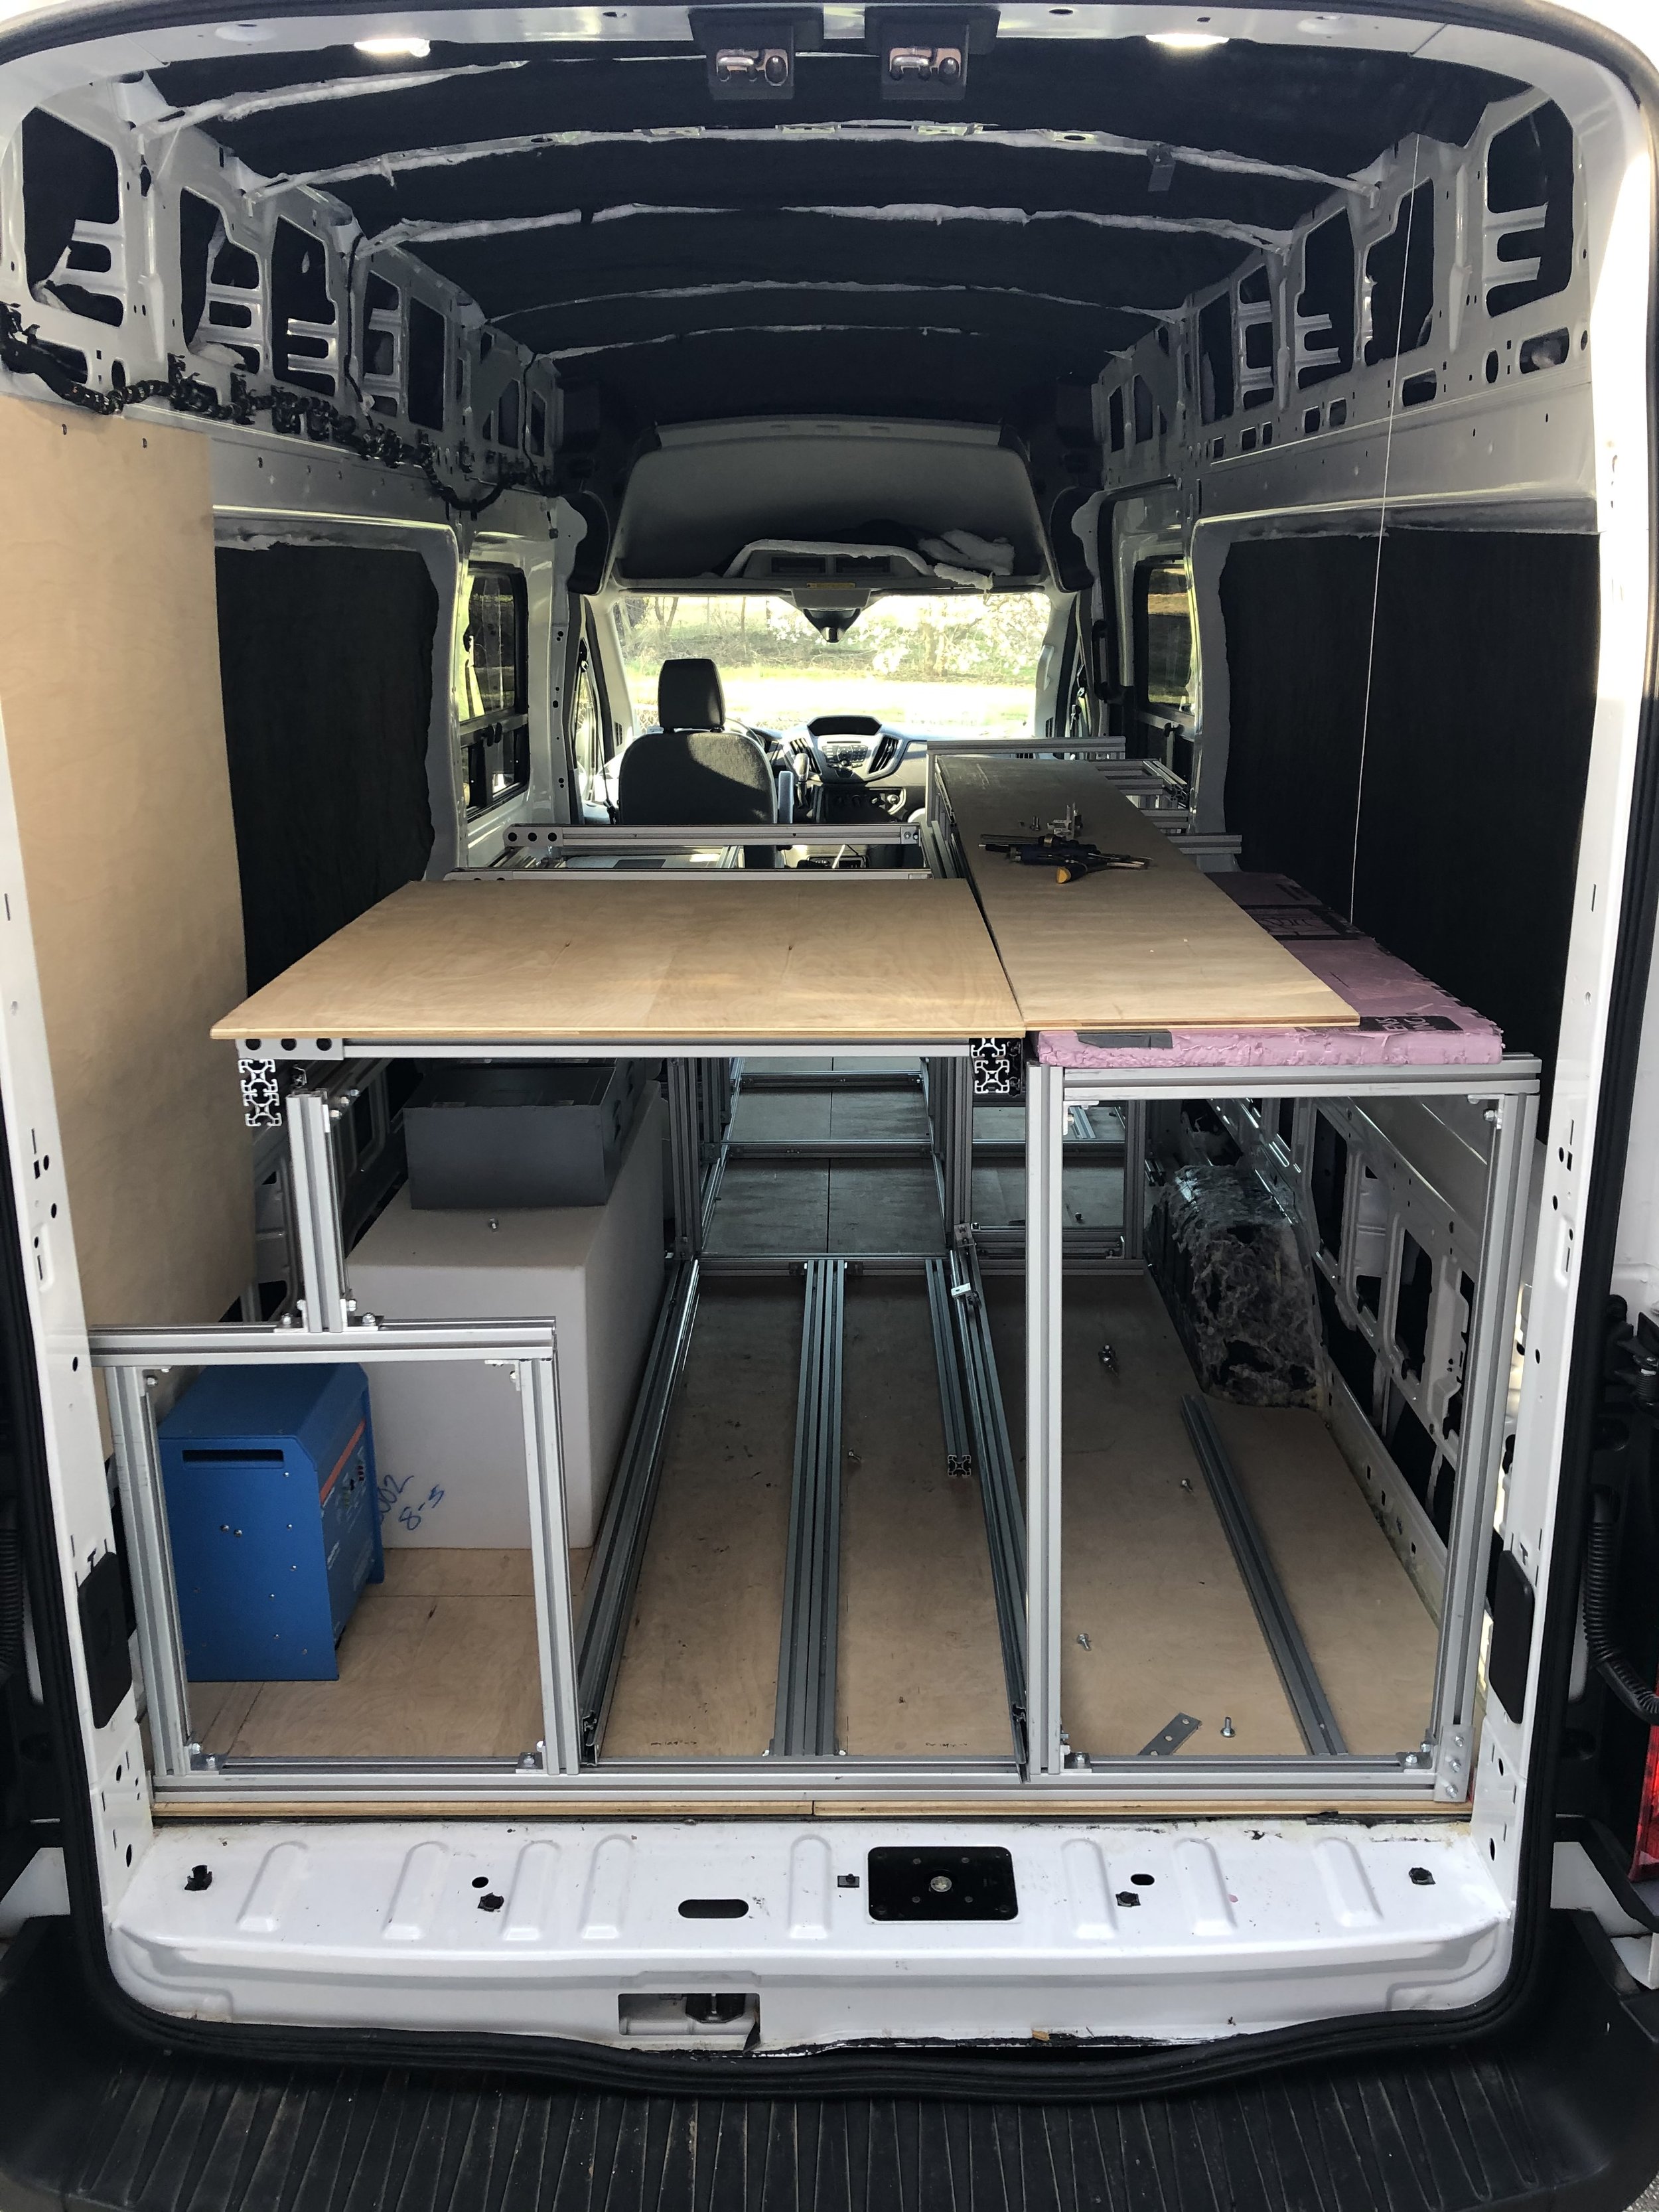
Framing
I used 80/20 extruded t-slot aluminum to frame out the van. It ended up being a joy to work with: strong, light, easy to cut, and the t-slot allows for change.
The process I followed was influenced by Orton Transit:
1) build everything out of 80/20
2) anchor the 80/20 structure to the floor, using wood as a thermal break
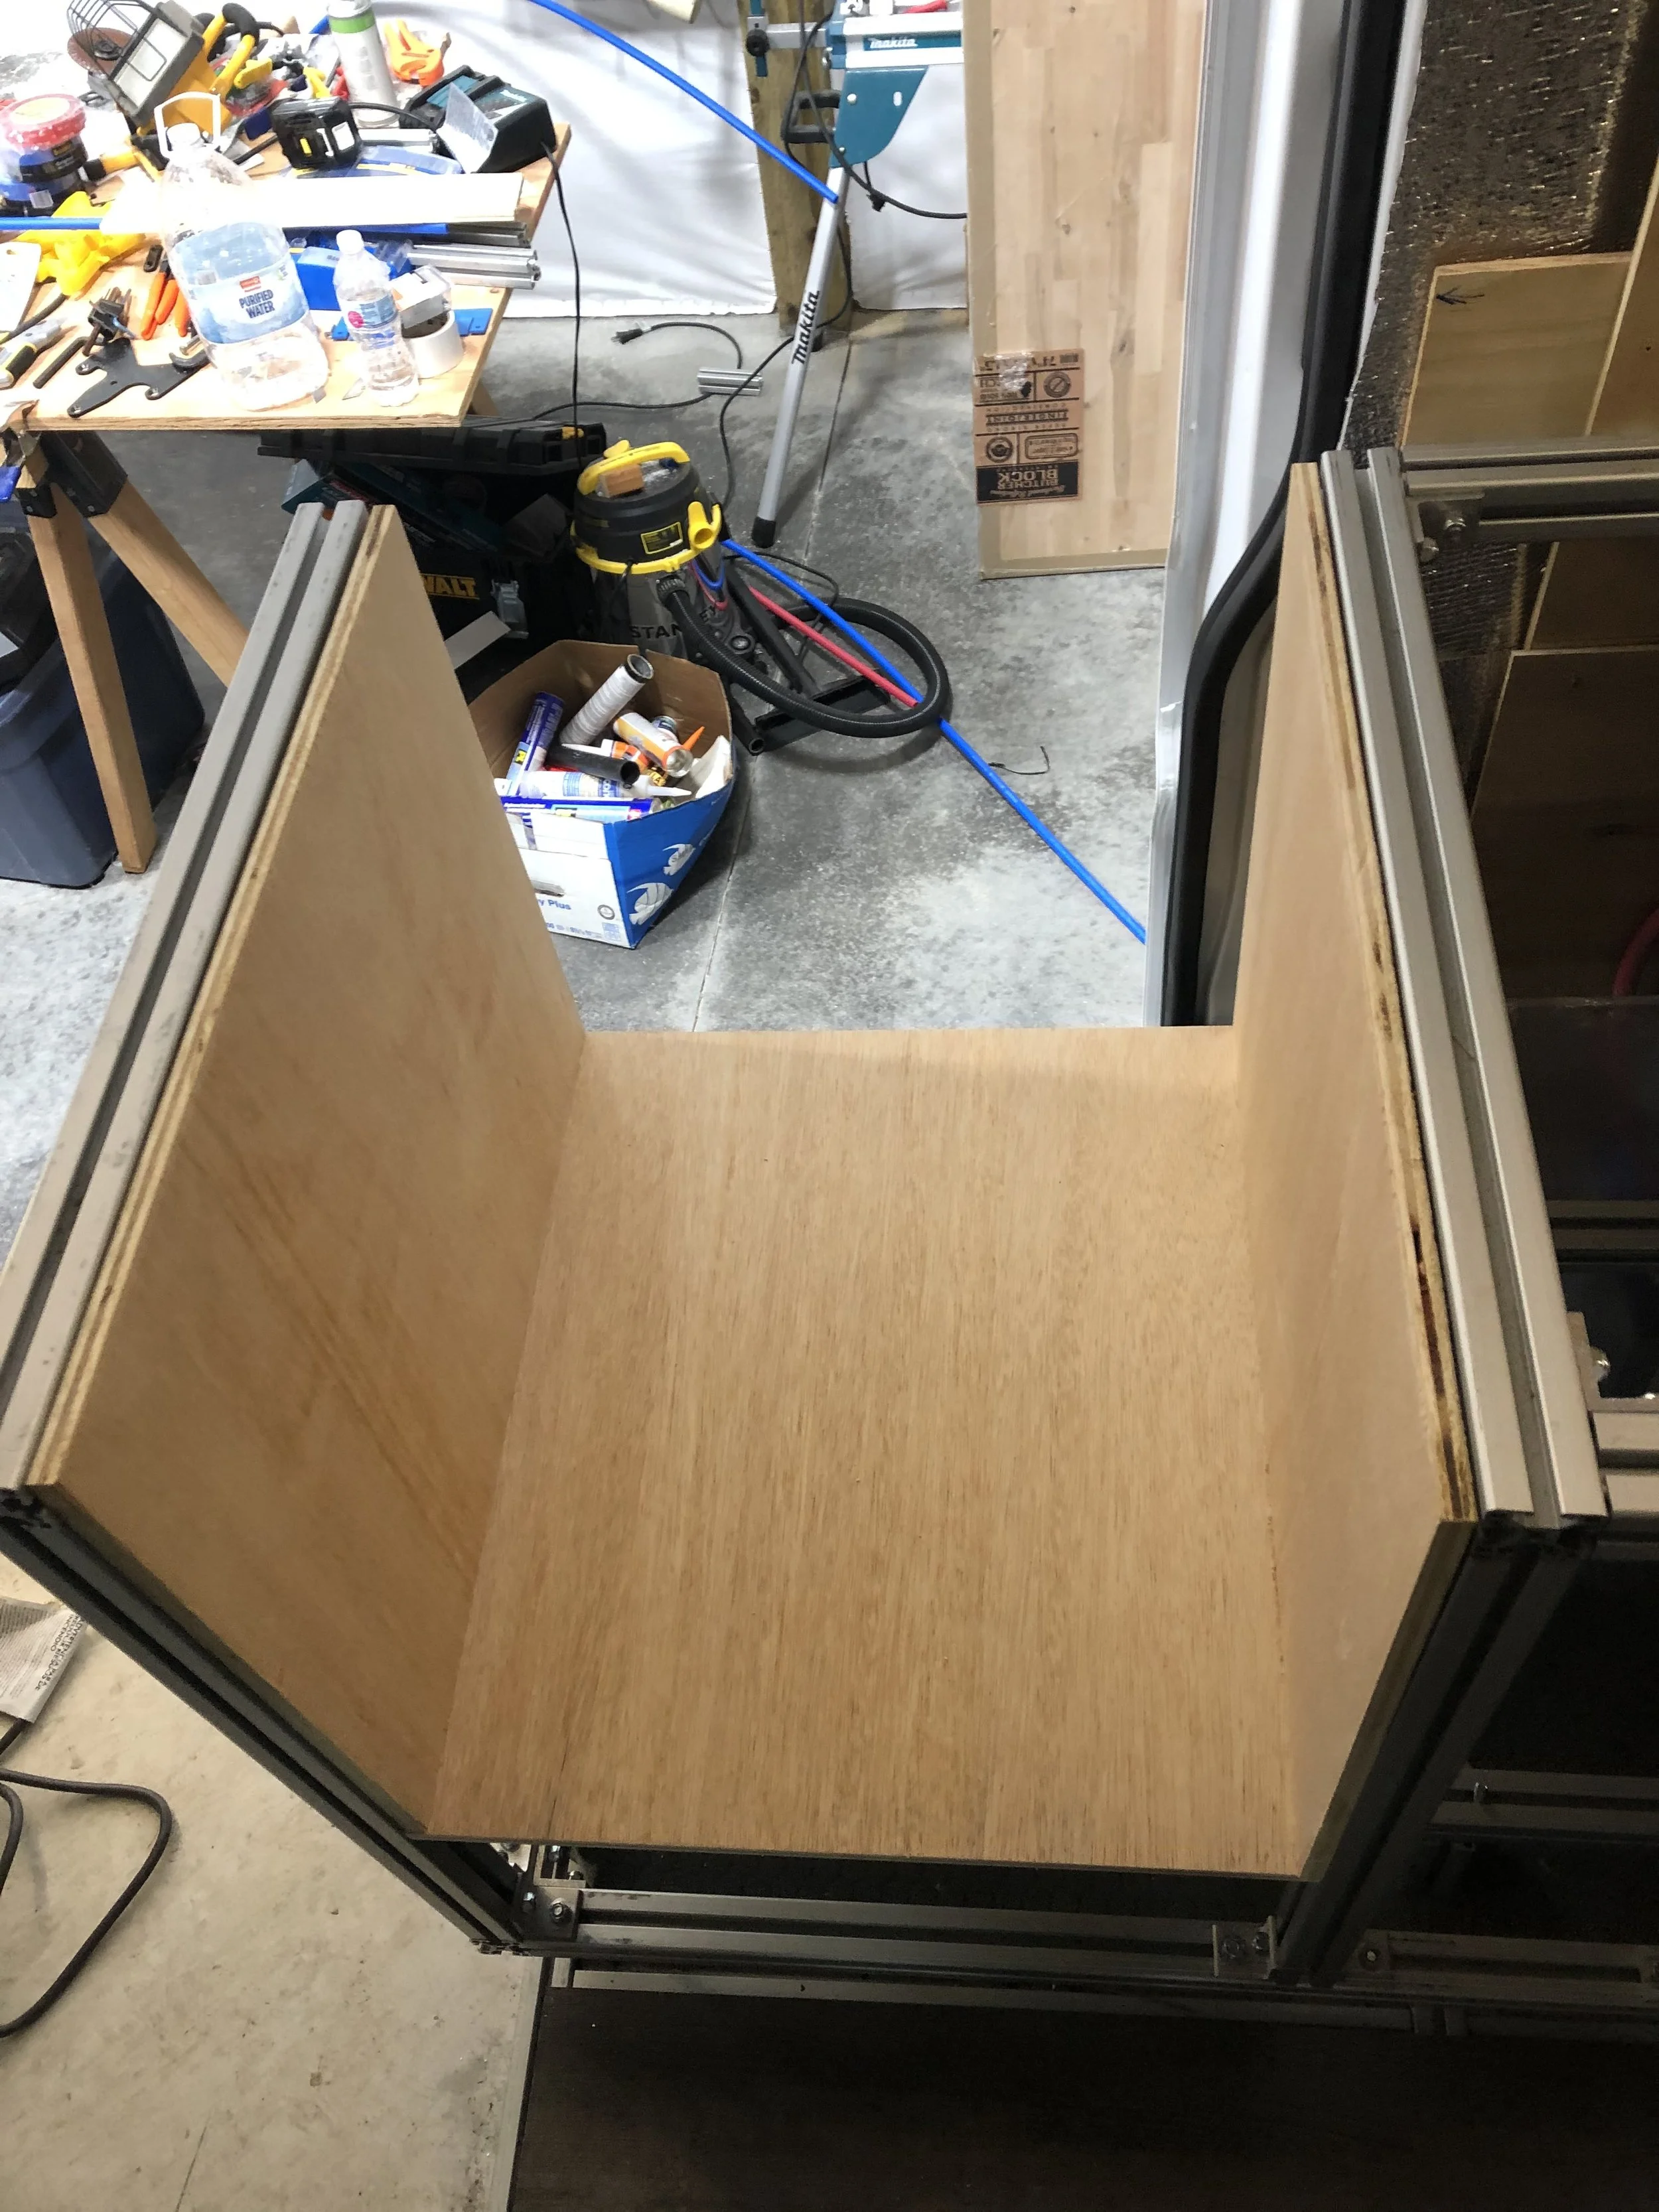
3) mount panels as veneers to create closed cabinetry.
The 80/20 floor is covered in its own post: Floor #2.