Floor #2
The floor is the base of the build and provides the features for the rest of the build, something I didn’t fully appreciate .
With Floor #1, the first big project I aimed to ‘check off’, insulation and flatness were achieved, but the floor did little in the way of providing structural support for the interior. This meant the walls would have to play a larger role in anchoring cabinetry, and those walls are both curved and hollow at counter height.
Floor #2 was built once the 80/20 aluminum framing was complete and I had a fuller understanding of the van build. The design & procedure was taken from the great site Orton Transit - Floor.
The result is a warm, flat floor with the ability to strongly anchor or quickly remove interior cabinet modules as needed.
Floor or 7-Layer Burrito?
A floor is just a floor right? Boring! Who knew this would be one of most sophisticated systems in the van. Here are the layers of the floor sandwhich from the bottom (van metal) up:
The microfoam corrugation fillers from Floor #1 were kept in place (they fill the gaps in the metal floor).
A layer of Mass Loaded Vinyl (MLV) was laid in 3 strips such that the seams would be offset from the plywood floor. This MLV layer a dampening effect on road noise and provides a stable base for the plywood.
The plywood floor was built in 4 pieces, each from a 4x8 1/2” piece of birch playwood, painted with primer.
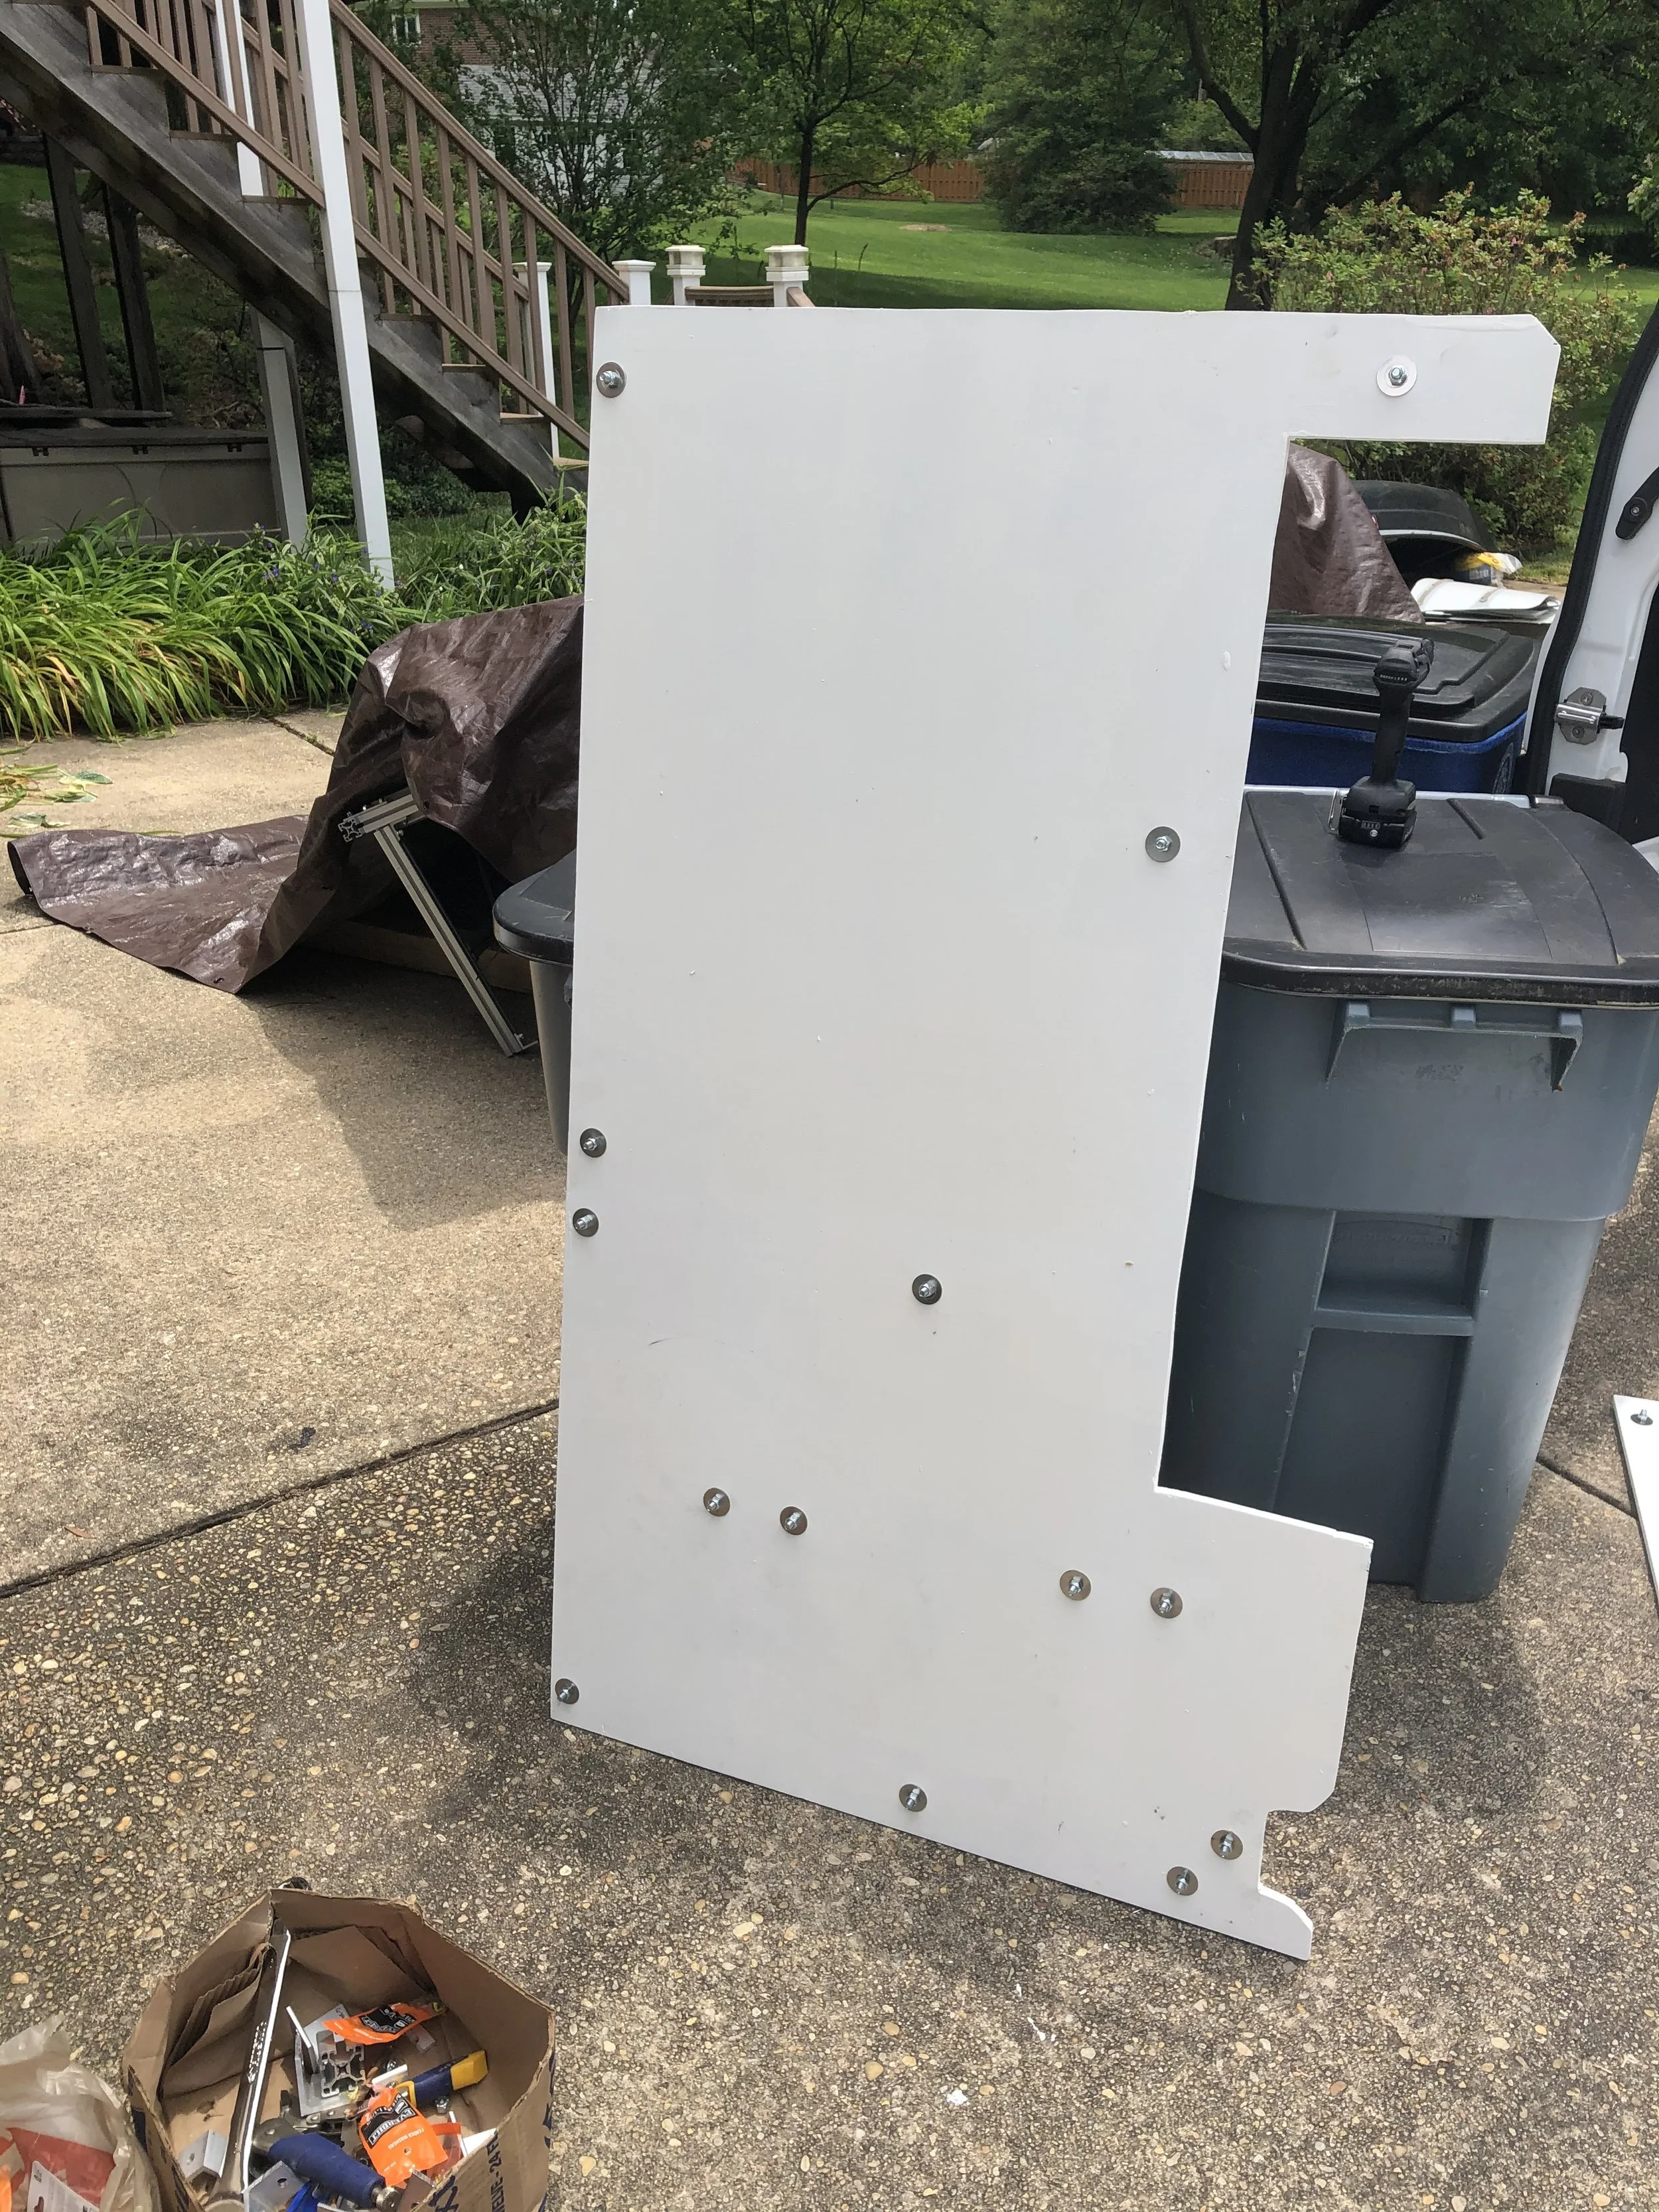
The bottom layer of the interior 80/20 structure was secured to studs anchored from underneath the plywood floor. (Studs — elevator bolts glued with construction adhesive). The plywood floor was anchored to the D-ring tie downs via custom aluminum blocks.
Polyiso rigid foam insulation fills the 80/20 gaps, creating a floor of even thickness with “embedded” t-slots to which the interior cabinets can be anchored.
Vinyl plank flooring fills the walkway and coin pattern rubber fills the side areas; they are taped down.
A layer of fiberglass was added down the center walkway,
A heated floorpad was added on top
The vinyl plans sit at the very top.
The 80/20 cabinetry is then bolted down to the open t-slots